Welcome to Ampinvt !
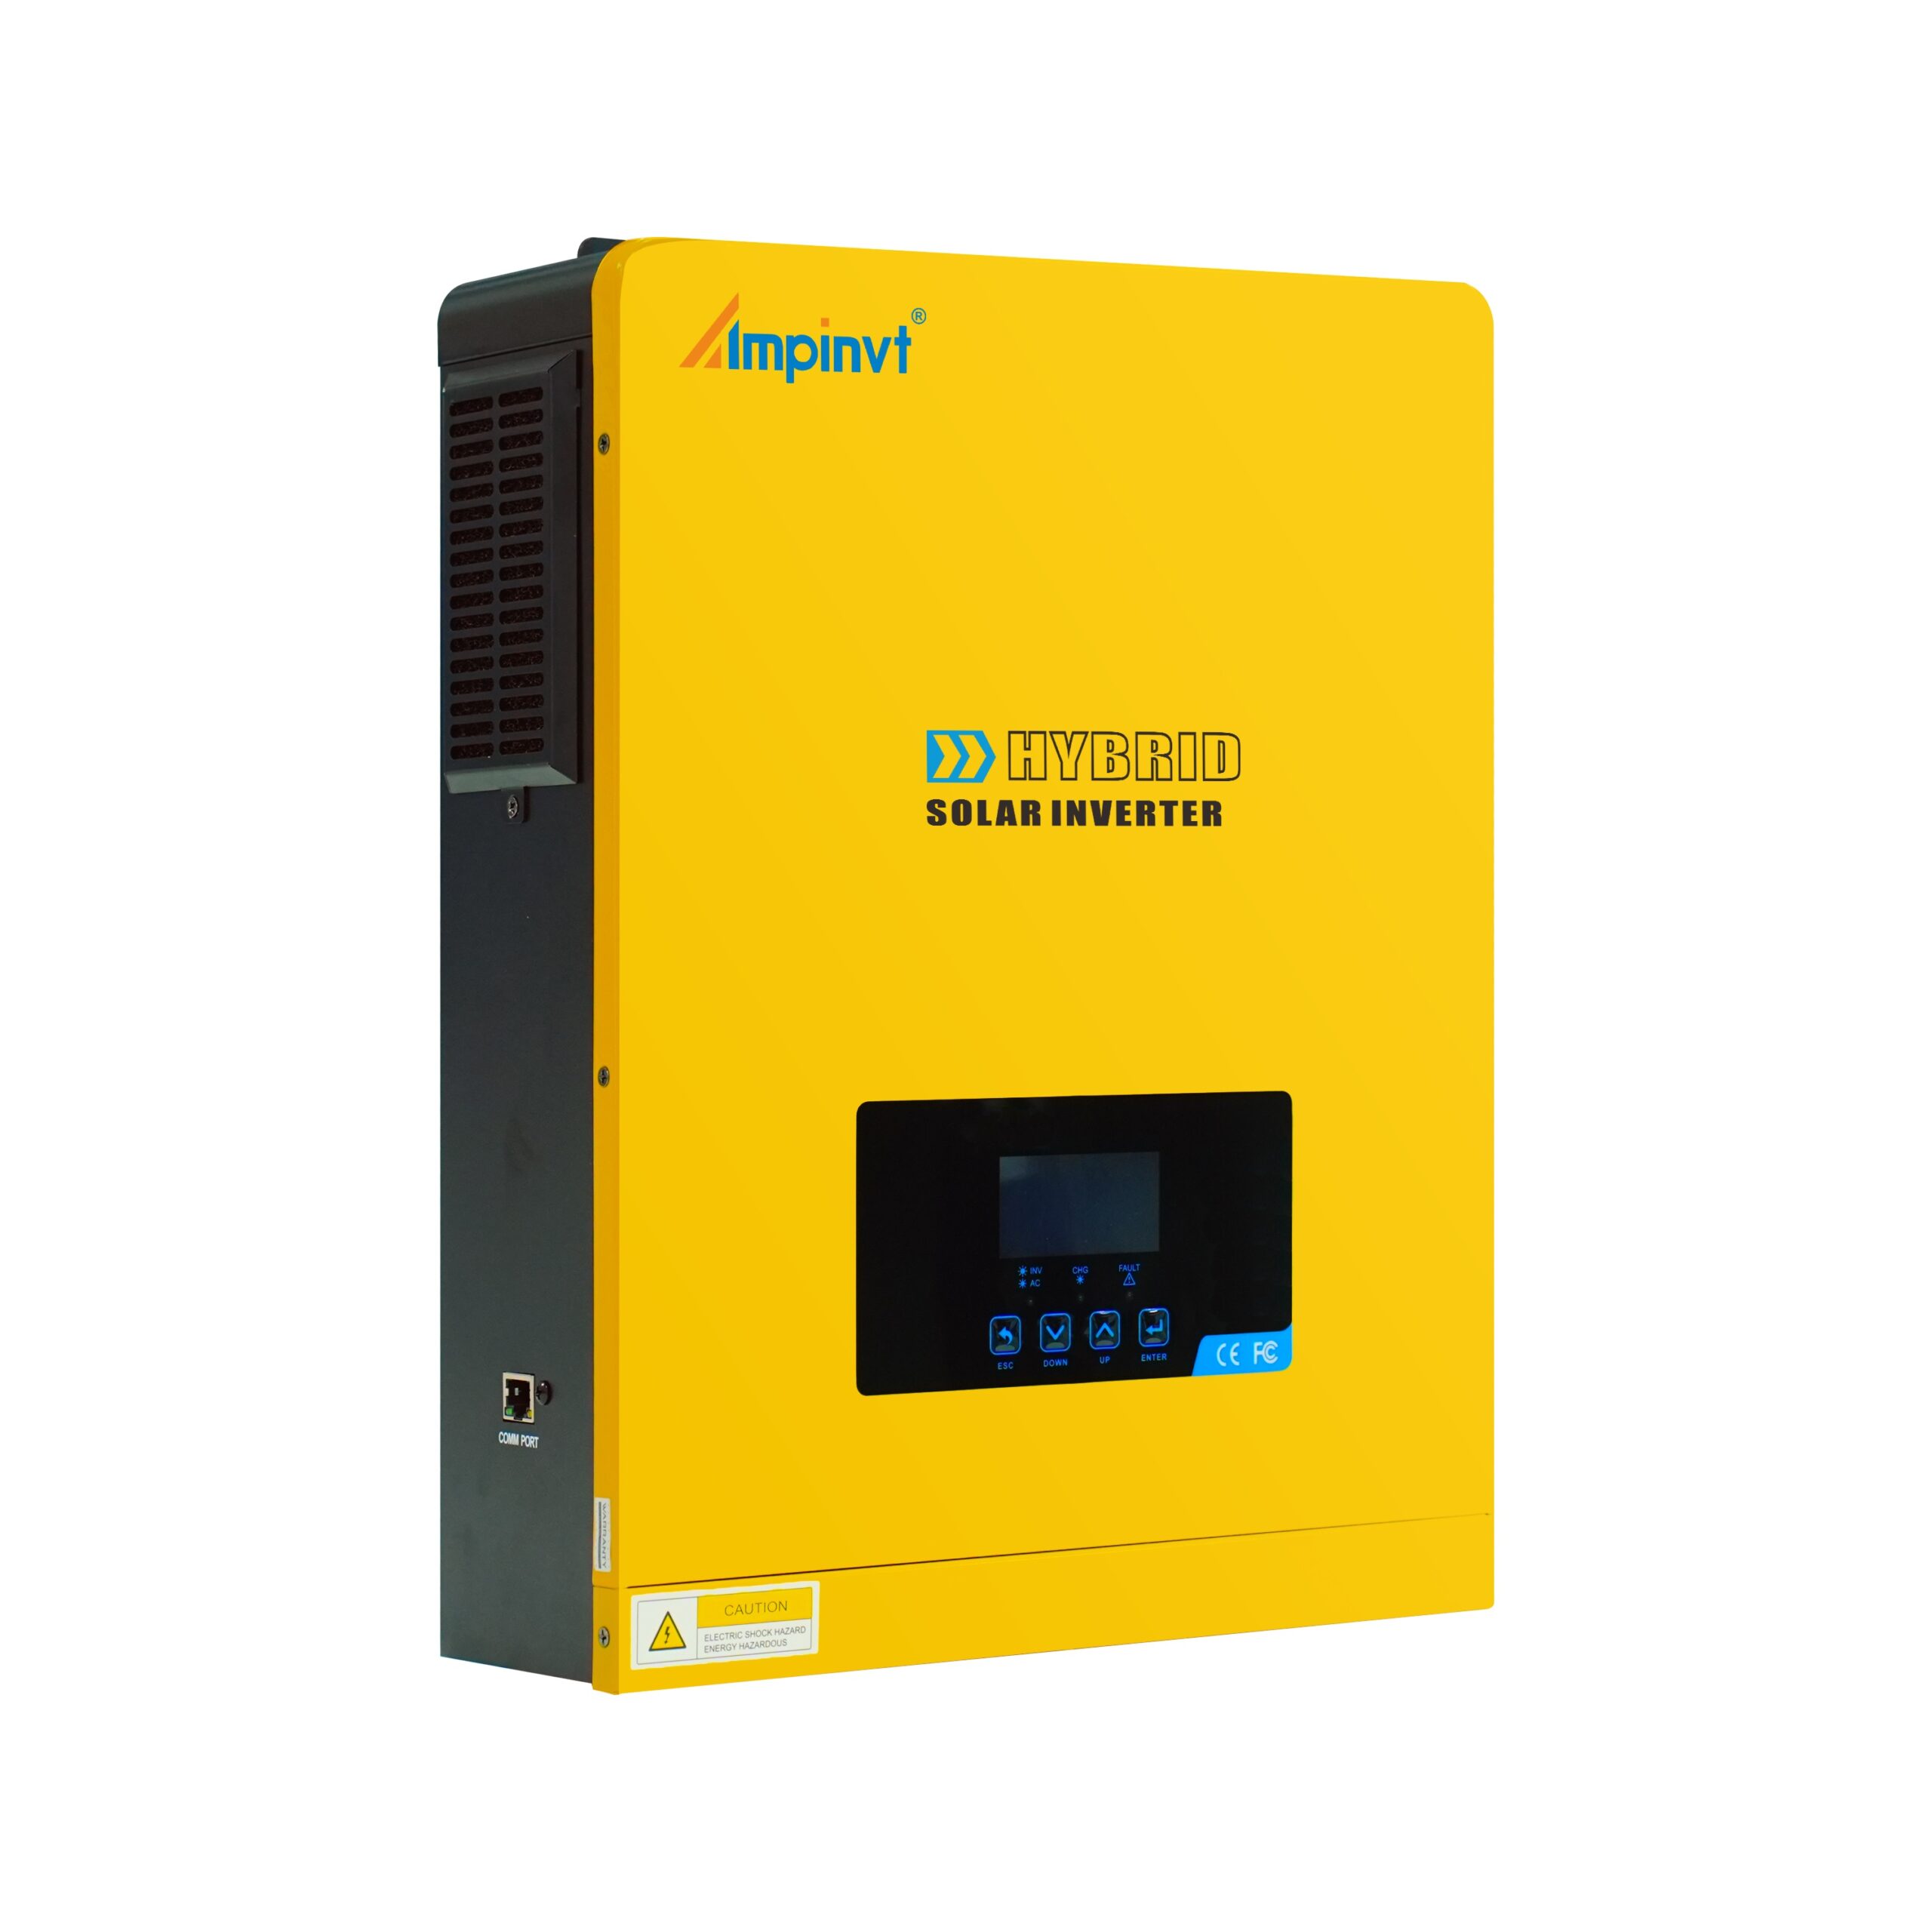
Hybrid solar charge controllers are becoming increasingly popular as a way to maximize the efficiency of solar energy systems. By combining the features of a traditional solar charge controller with those of a battery charger, hybrid controllers can provide a more comprehensive solution for charging batteries and managing the flow of power in a solar system.
Step 1: Install the Charge Controller
The first step in setting up a hybrid solar charge controller is to install it in a suitable location. The charge controller should be mounted in a dry, well-ventilated area that is protected from direct sunlight and moisture. It should also be easily accessible for maintenance and troubleshooting.
Step 2: Connect the Solar Panels
Once the charge controller is installed, the next step is to connect the solar panels. The solar panels should be connected to the charge controller using the appropriate connectors and wiring. The positive terminals of the solar panels should be connected to the positive terminal of the charge controller, and the negative terminals of the solar panels should be connected to the negative terminal of the charge controller.
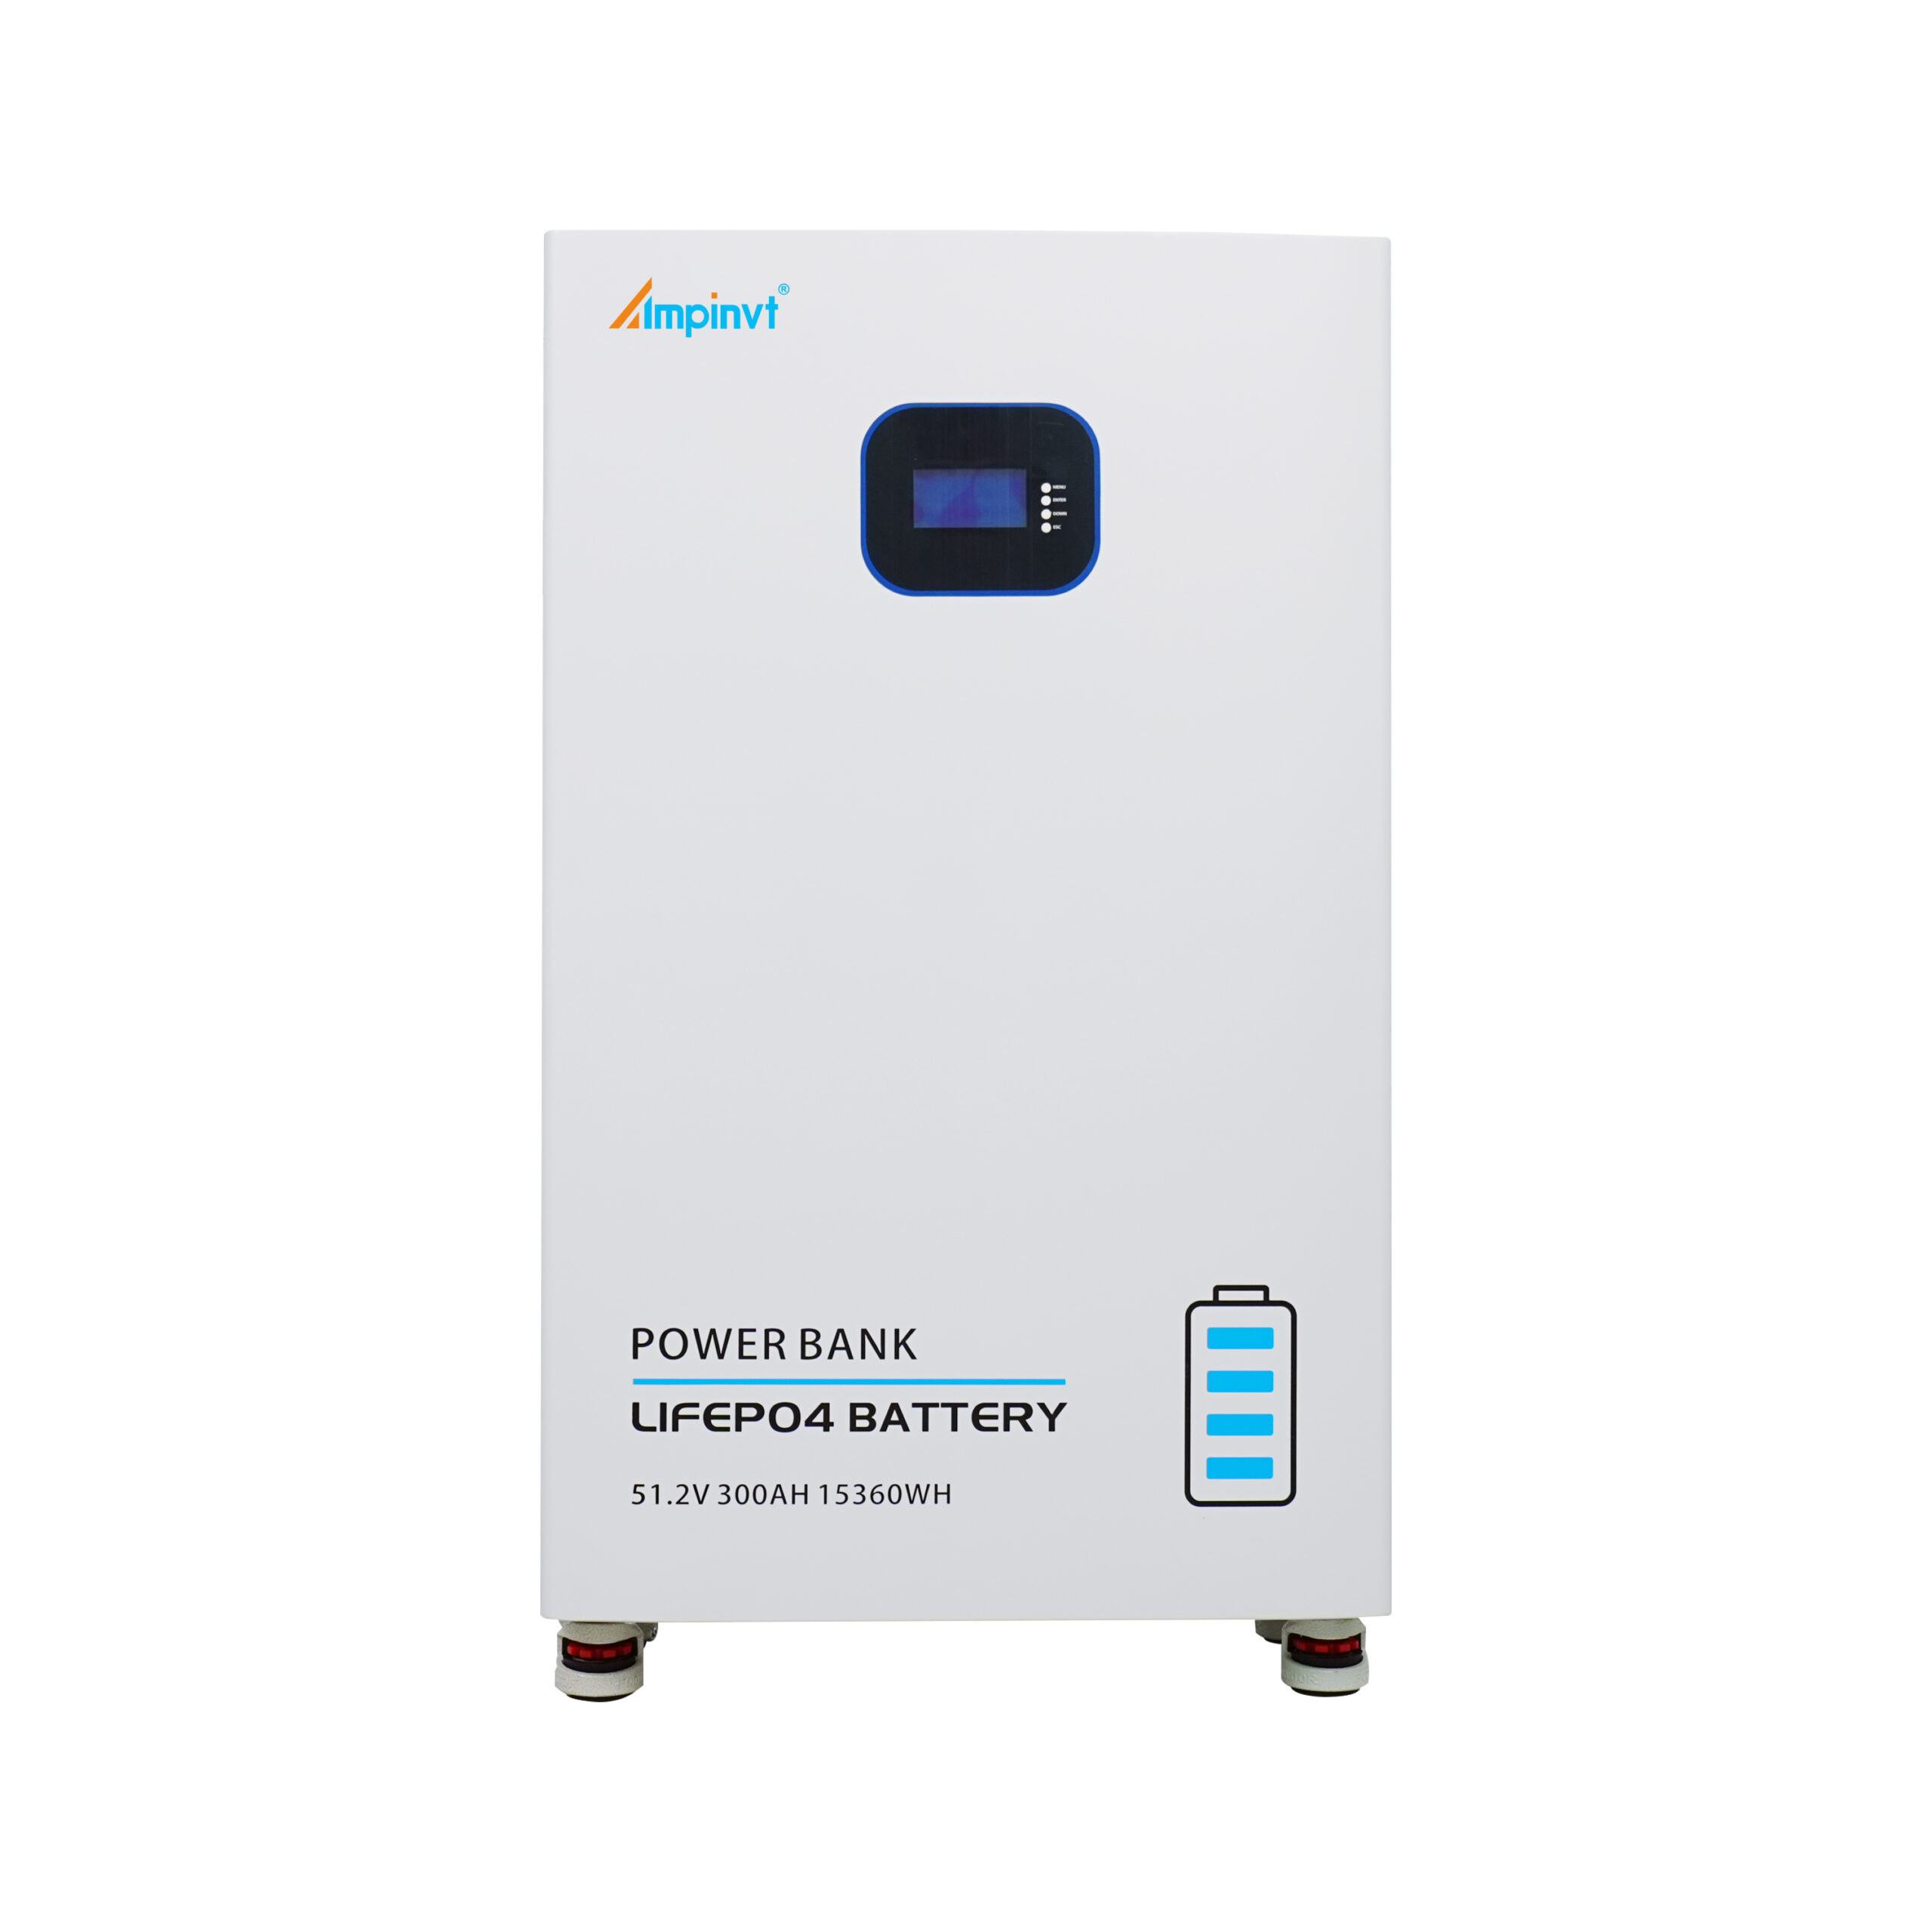
Step 3: Connect the Batteries
The next step is to connect the batteries to the charge controller. The batteries should be connected to the charge controller using the appropriate connectors and wiring. The positive terminal of the battery should be connected to the positive terminal of the charge controller, and the negative terminal of the battery should be connected to the negative terminal of the charge controller.
Step 4: Configure the Charge Controller
Once the solar panels and batteries are connected, the next step is to configure the charge controller. The charge controller should be configured to match the specific requirements of the solar system. The following settings should be configured:
Battery type: The charge controller should be configured for the type of battery that is being used.
Battery capacity: The charge controller should be configured for the capacity of the battery.
Charge voltage: The charge controller should be configured to the correct charge voltage for the battery.
Discharge voltage: The charge controller should be configured to the correct discharge voltage for the battery.
Load current: The charge controller should be configured to the maximum load current that will be drawn from the battery.
Step 5: Test the System
Once the charge controller is configured, the next step is to test the system. The system should be tested to ensure that it is functioning properly. The following tests should be performed:
Solar panel output: The output of the solar panels should be tested to ensure that they are generating the correct amount of power.
Battery voltage: The voltage of the battery should be tested to ensure that it is charging and discharging properly.
Load current: The current drawn from the battery should be tested to ensure that it is within the limits set by the charge controller.
COMPANY
PRODUCTS