Welcome to Ampinvt !
The article “A Step-by-Step Guide to Installing a Hybrid Solar Charge Controller” serves as a valuable resource for individuals seeking to harness the power of the sun while integrating it with their existing electrical system. By combining solar energy with a charge controller, homeowners can optimize their energy consumption, reduce their reliance on traditional energy sources, and contribute to environmental sustainability. This step-by-step guide provides a comprehensive overview of the installation process, empowering readers with the necessary knowledge and skills to successfully complete the project.
Before embarking on the installation process, it is crucial to gather the necessary materials and tools. This includes a hybrid solar charge controller, solar panels, batteries, wiring, connectors, fuses, and mounting brackets. Additionally, essential tools such as a screwdriver, wire cutters, crimping tool, and multimeter will be required.
Working with electricity involves potential hazards, so safety should be prioritized throughout the installation process. Ensure that the work area is clear of obstacles and well-ventilated. Wear appropriate protective gear, including safety glasses, gloves, and non-conductive shoes. Disconnect all electrical components before beginning any work, and always follow the manufacturer’s instructions carefully.
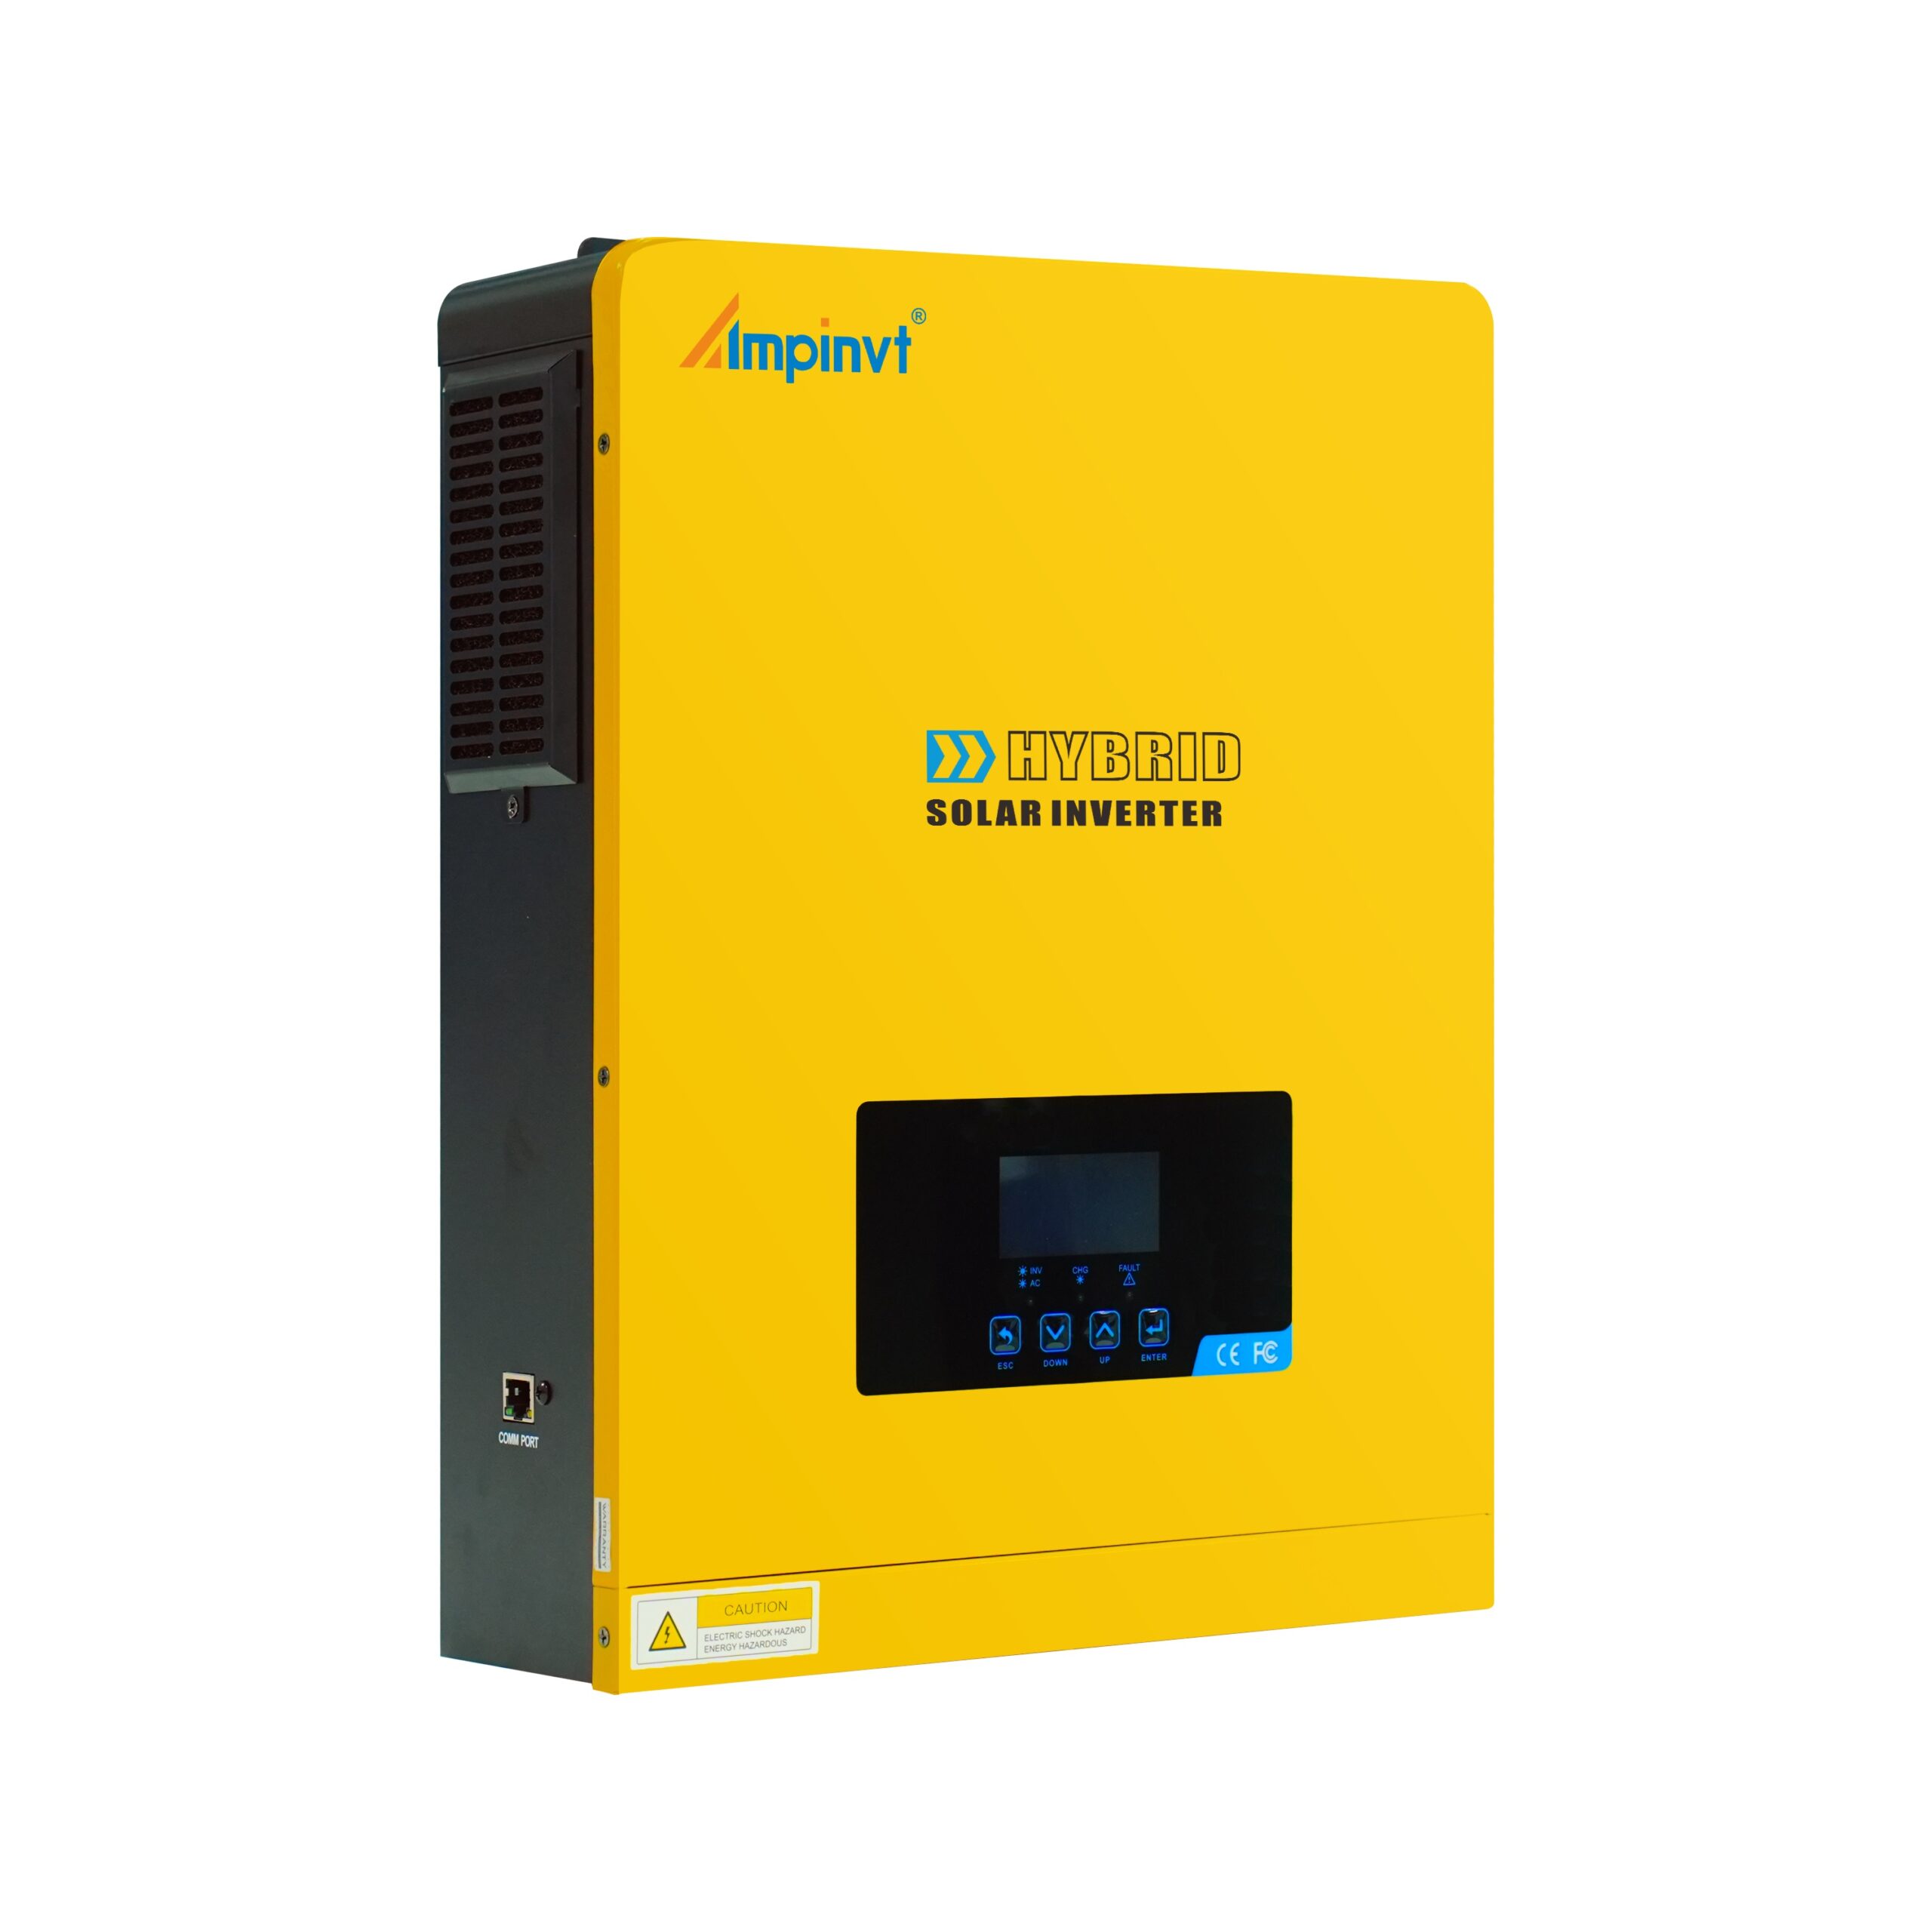
Locate a suitable mounting location for the charge controller, ensuring it is protected from moisture and direct sunlight. Typically, the charge controller is mounted on a wall or within an enclosure. Secure the charge controller using the provided mounting brackets and screws.
Connect the positive and negative terminals of the solar panels to the corresponding terminals on the charge controller. Use appropriate connectors and crimping tools to ensure secure connections. Ensure that the wiring is properly sized for the current and voltage requirements of the system.
Connect the positive and negative terminals of the batteries to the corresponding terminals on the charge controller. Similar to the solar panel connections, use appropriate connectors and crimping tools. Double-check the polarity of the connections to prevent damage to the batteries or charge controller.
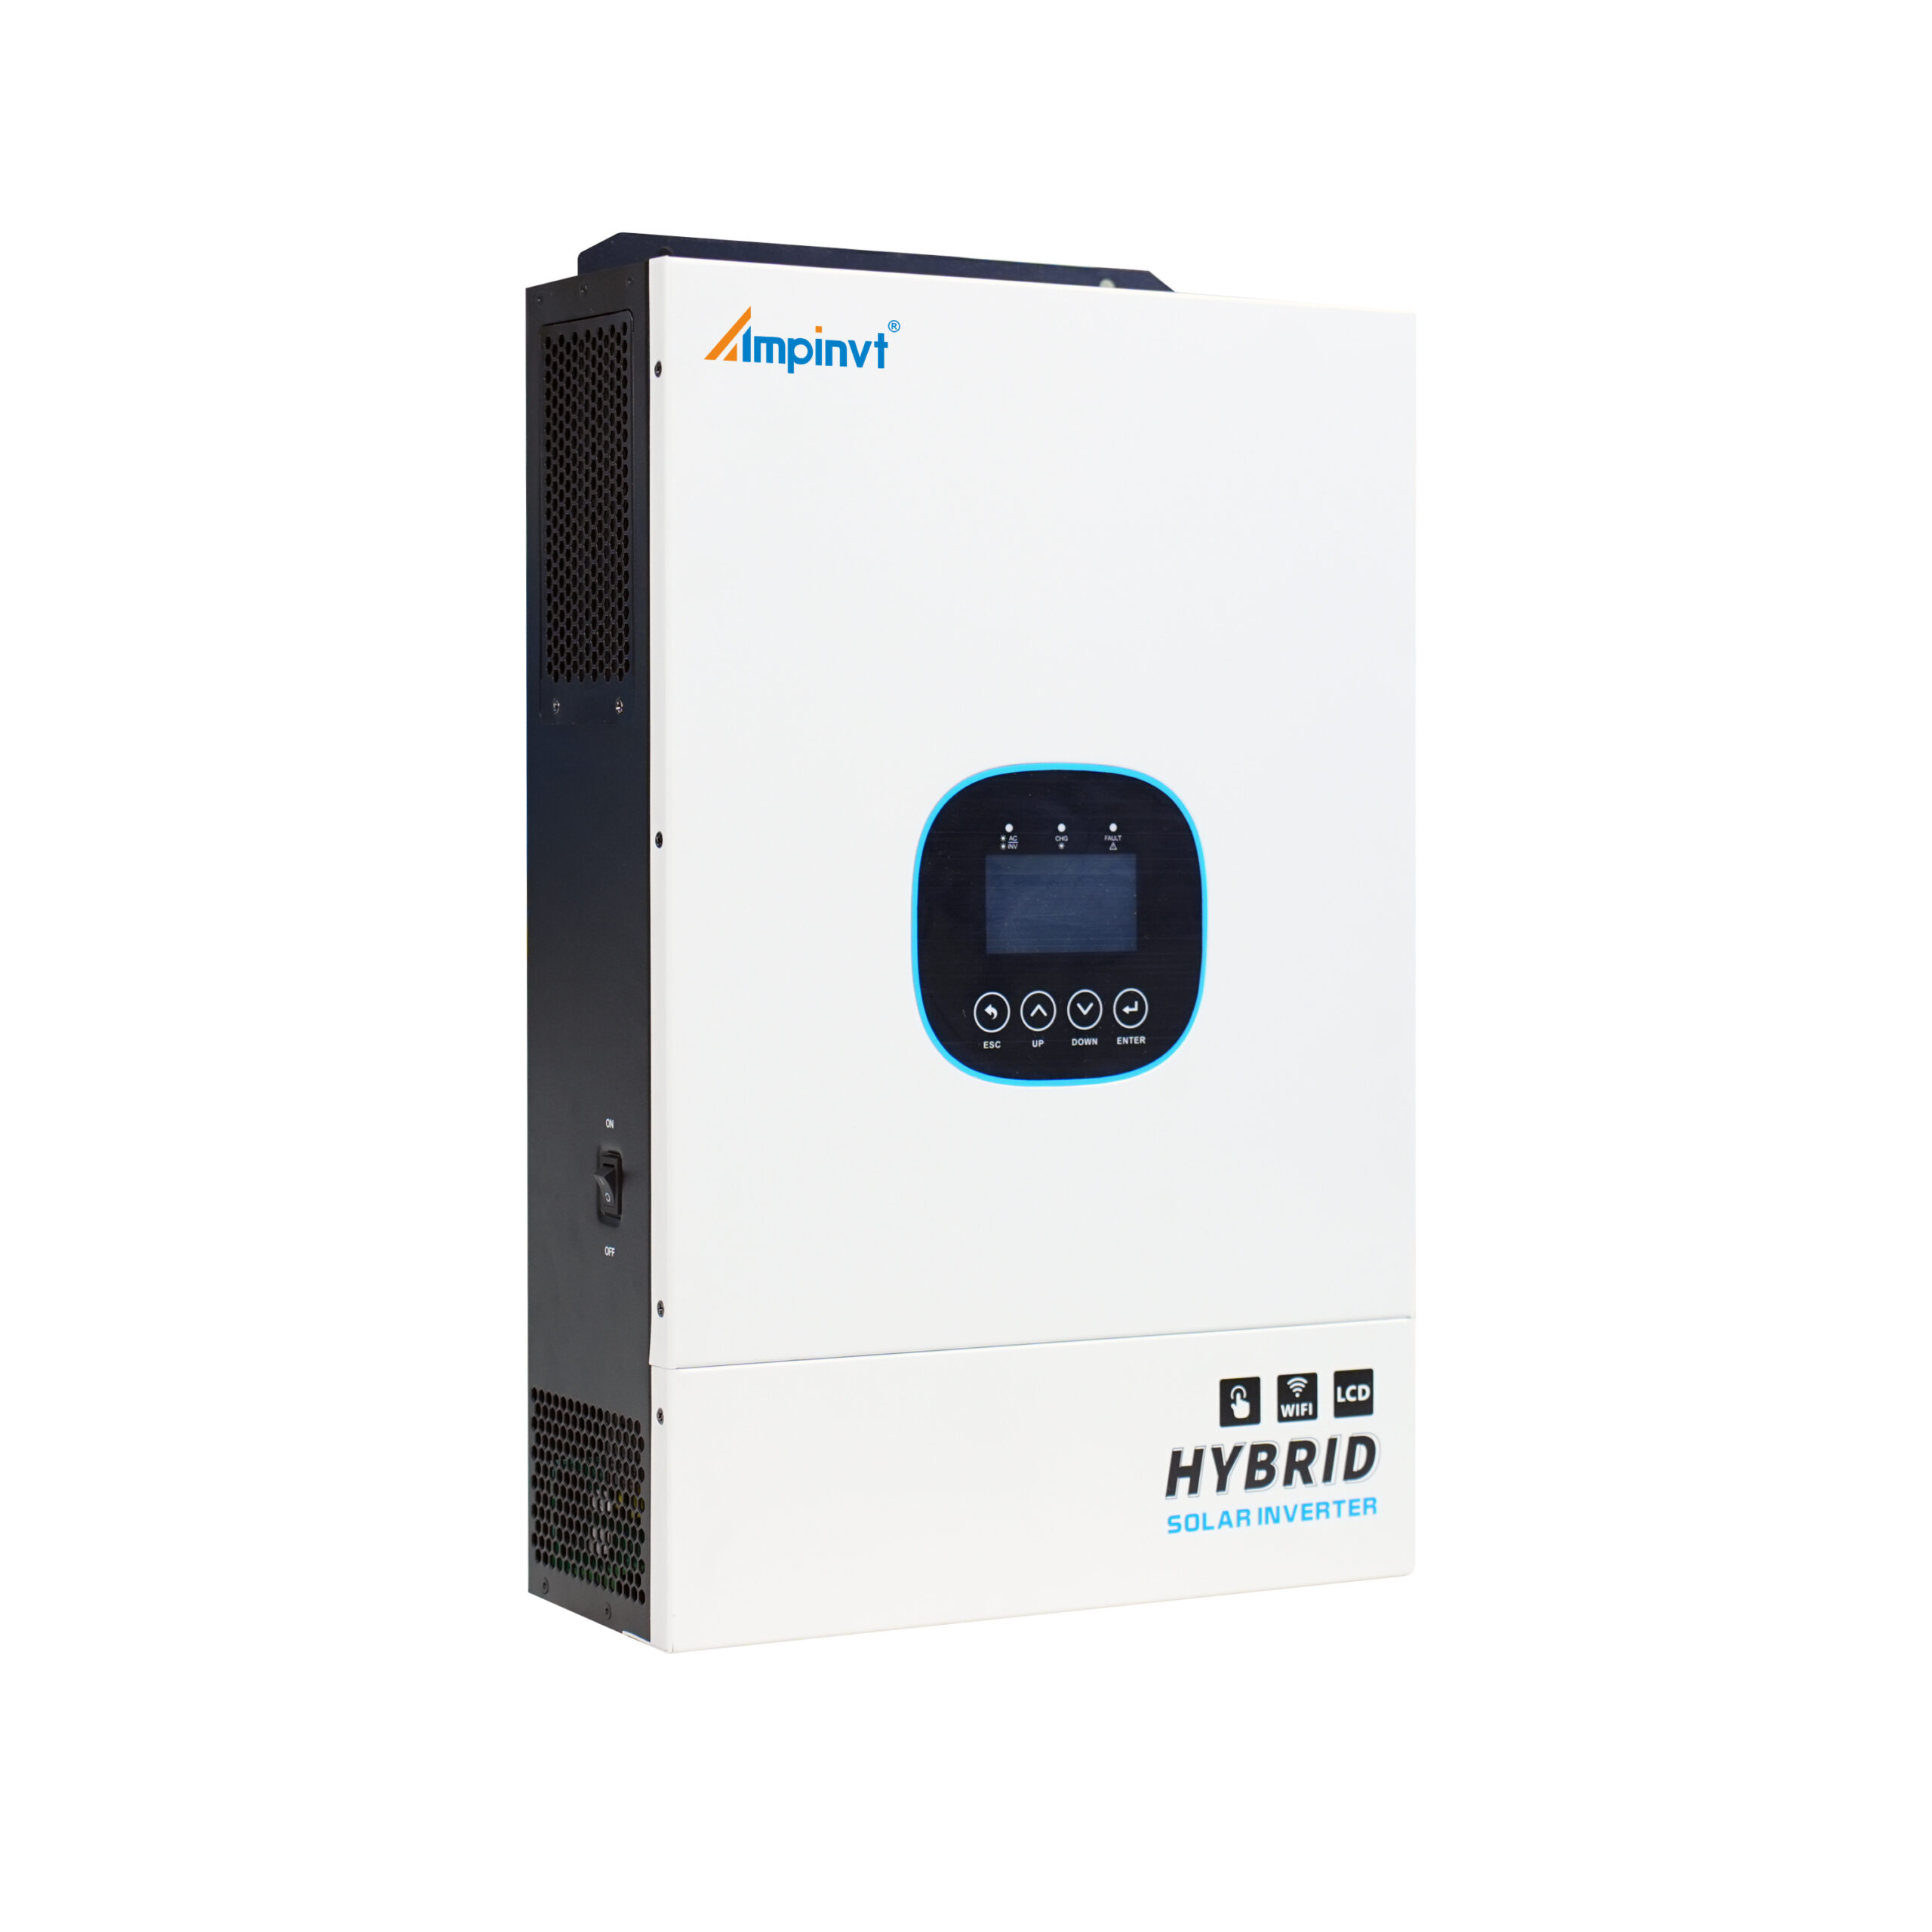
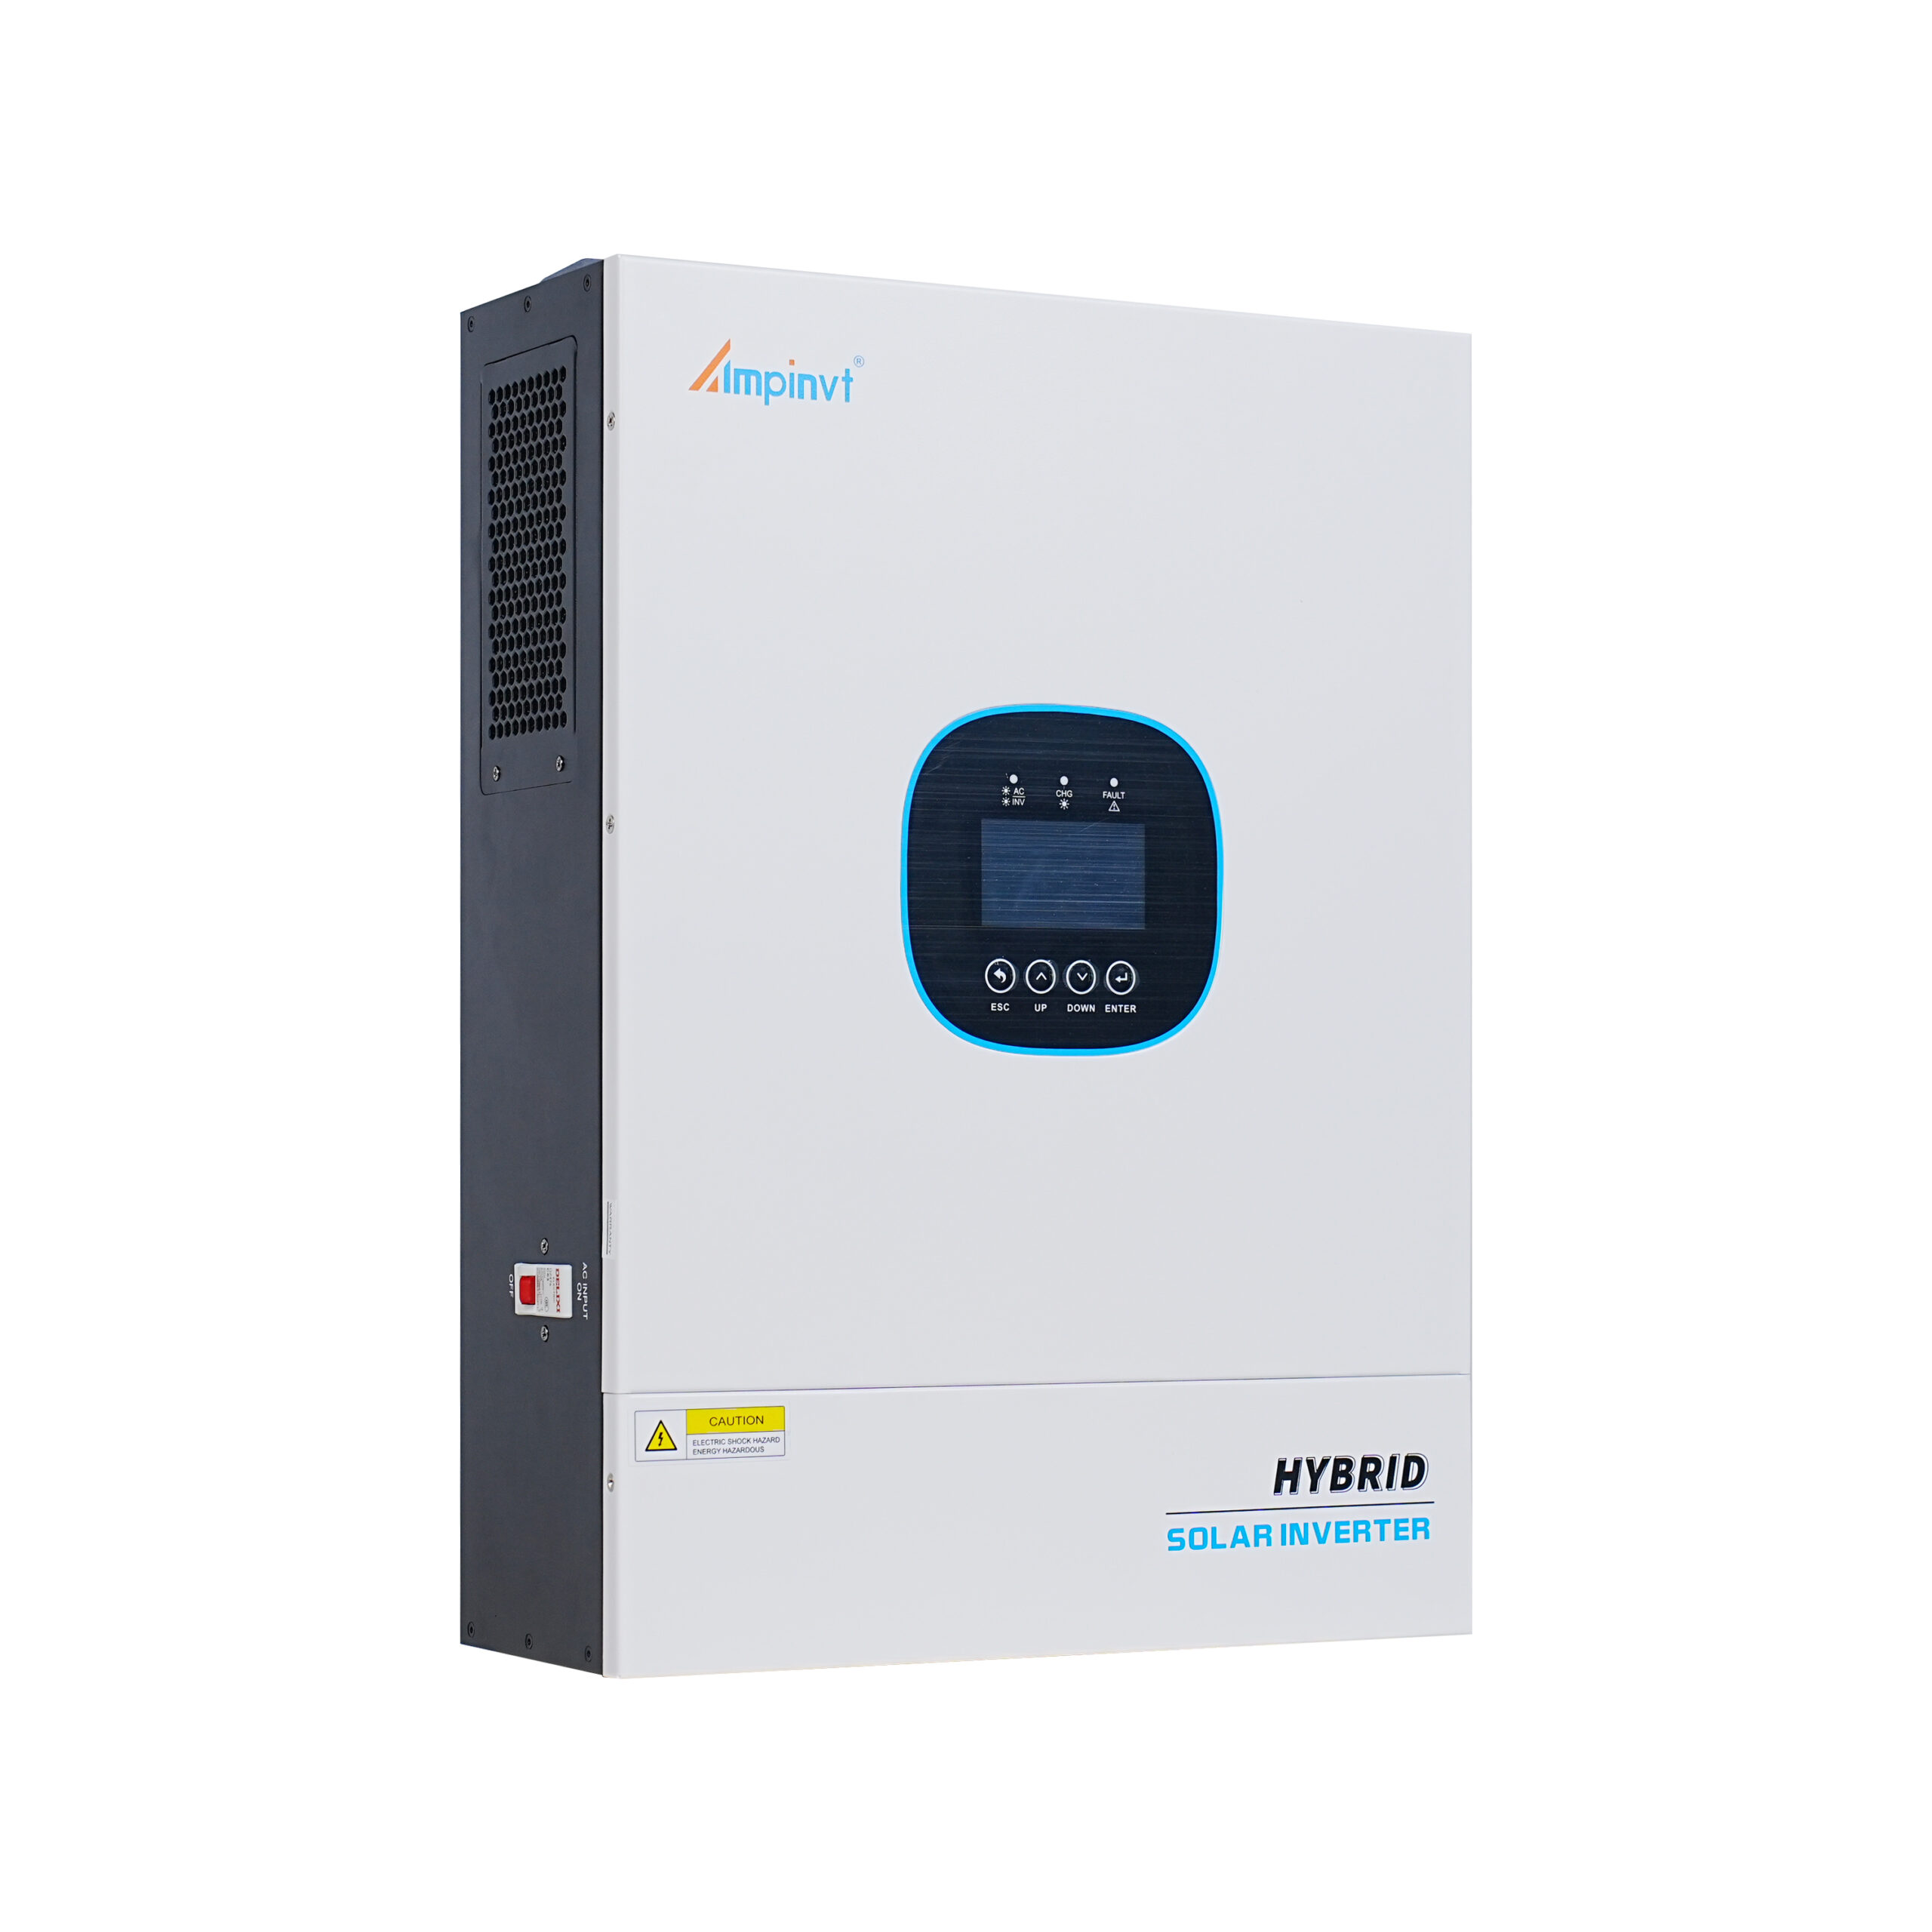
If the hybrid charge controller supports AC input and output, connect the AC terminals to the grid or other AC power source. This allows the system to charge the batteries using AC power when solar power is unavailable. Similarly, the output terminals can be connected to an inverter to convert DC power from the batteries into AC power for household use.
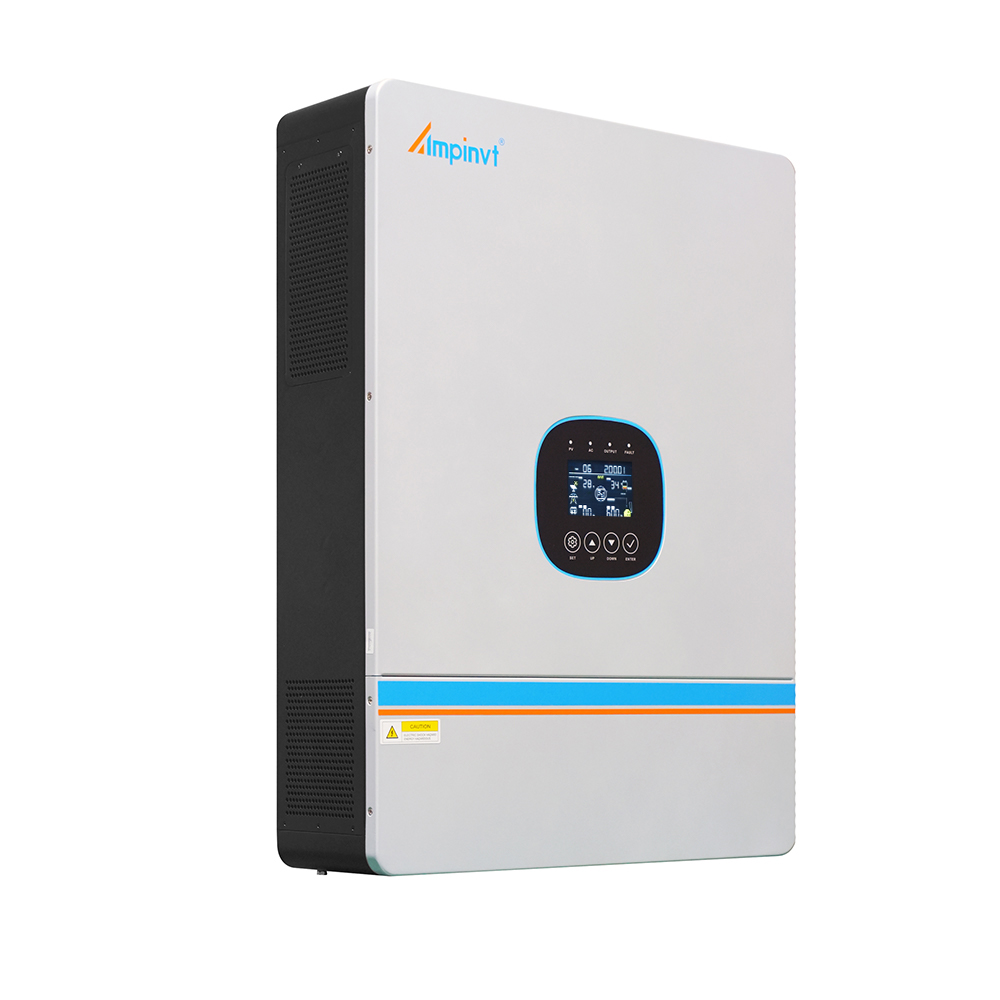
Once all connections are made, configure the charge controller according to the manufacturer’s instructions. This typically involves setting parameters such as charging voltage, discharge voltage, and battery type. Many modern charge controllers offer monitoring capabilities through a display or mobile app, allowing users to track system performance and make adjustments as needed.
COMPANY
PRODUCTS