Welcome to Ampinvt !
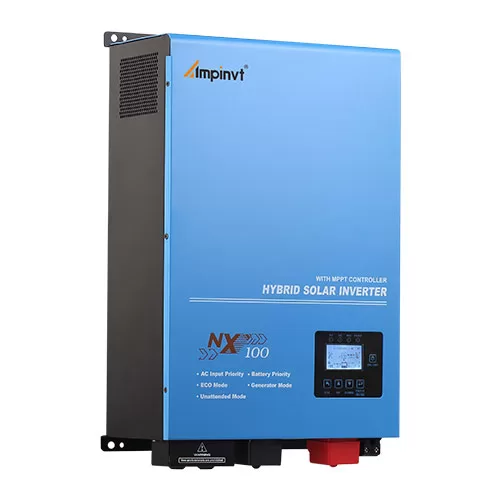
Harnessing the power of the sun for your off-grid energy needs is a rewarding endeavor, especially when you can tackle the installation yourself. Constant voltage Maximum Power Point Tracking (MPPT) chargers play a crucial role in optimizing the efficiency of solar panels. Here are some detailed tips to guide you through the DIY installation process:
Before embarking on the installation, it’s essential to plan the system layout and ensure safety. Determine the location and angle of the solar panels for optimal sunlight exposure. Consider potential shading and obstacles. Wear appropriate safety gear, including gloves, eye protection, and insulated tools, to minimize risks while handling electrical components.
The electrical wiring must be meticulously executed to ensure proper functionality and safety. Use PV-rated wires with the appropriate gauge for the current-handling capacity. Connect the positive terminals of the solar panels to the positive terminal of the MPPT charger, and similarly for the negative terminals. Tighten all connections securely using a torque wrench.
Proper grounding is indispensable for both safety and system performance. Install grounding rods according to local electrical codes. Connect the grounding terminal of the MPPT charger to the grounding rod. This ensures that any electrical faults are safely dissipated to the earth.
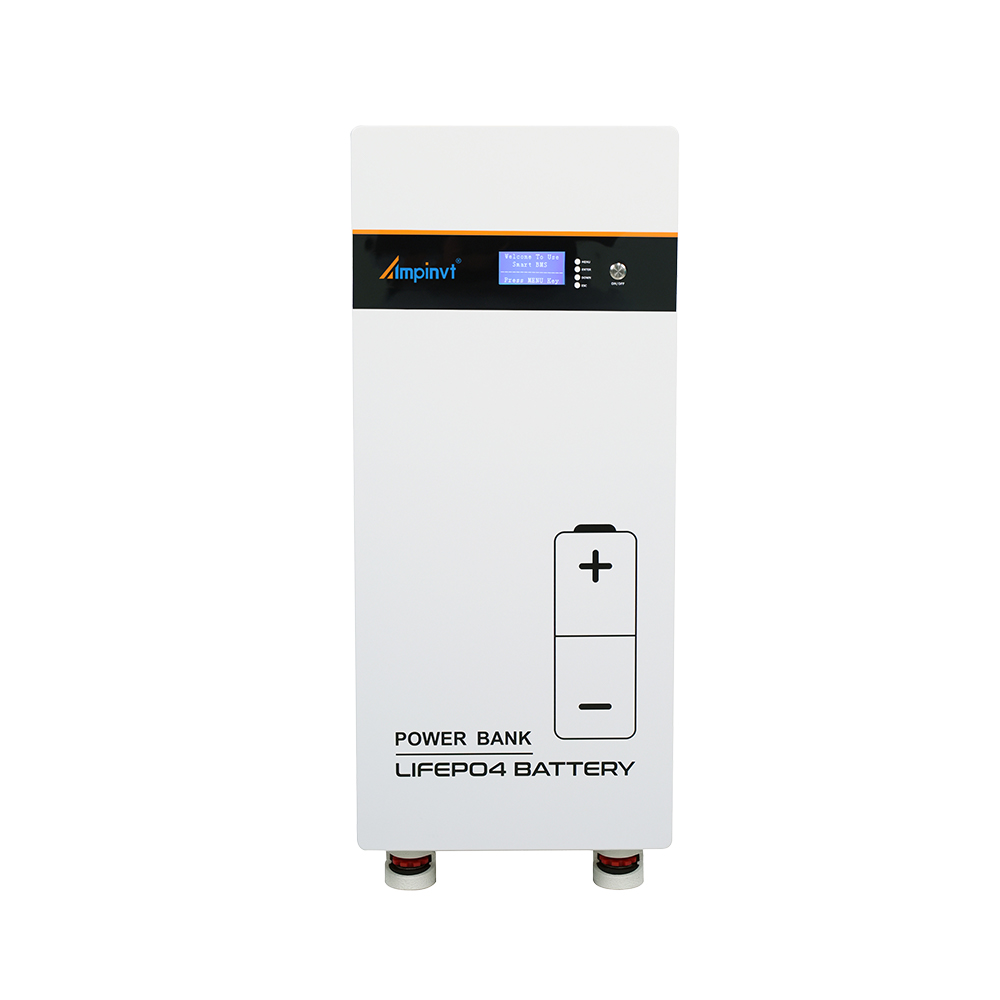
The battery bank is the heart of the off-grid system. Connect the batteries to the MPPT charger terminals, observing the correct polarity. Use battery cables with sufficient cross-sectional area to handle the expected current draw. Secure the battery terminals with appropriate clamps or bolts.
Most MPPT chargers require programming to match the battery bank’s voltage and other system parameters. Consult the manufacturer’s instructions for specific programming procedures. Improper programming can result in reduced efficiency or damage to the components.
The MPPT charger should be securely mounted in a well-ventilated area protected from direct sunlight and moisture. Use appropriate mounting brackets and hardware to ensure stability. Avoid exposing the charger to extreme temperatures or vibration.
Once the installation is complete, it’s time to commission the system. Connect the battery and solar panel, and monitor the output using a multimeter or system monitor. Verify that the MPPT charger is operating correctly and maximizing power output. If any issues arise, consult the troubleshooting guide in the manufacturer’s manual.
COMPANY
PRODUCTS