Welcome to Ampinvt !
DIY installation of small maximum power point tracking (MPPT) charge controllers can be a cost-effective and rewarding project for those with basic electrical skills. These controllers optimize the power output of photovoltaic (PV) panels, ensuring that batteries are charged efficiently and effectively. Here’s a detailed guide to help you navigate the DIY installation process:
Choose a location that is dry, well-ventilated, and protected from direct sunlight and moisture.
Ensure the controller will be easily accessible for maintenance and troubleshooting.
Position the controller near the PV panels to minimize wiring loss.
Use appropriately sized wires to connect the PV panels, batteries, and controller.
Connect the positive terminal of the PV panels to the controller’s positive terminal and the negative terminal of the PV panels to the controller’s negative terminal.
Similarly, connect the positive terminal of the batteries to the controller’s positive terminal and the negative terminal of the batteries to the controller’s negative terminal.
Secure all wire connections with appropriate connectors or crimp terminals.
Connect the grounding terminal of the controller to a reliable ground point, such as an earth rod or the metal chassis of the mounting structure.
Ensure that the ground connection is secure and has low resistance.
Proper grounding prevents electrical shocks and protects against lightning strikes.
Set the controller parameters according to the manufacturer’s instructions.
Program the controller with the appropriate battery type, battery voltage, and charging settings.
Configure the controller to optimize the charging process based on the specific PV system and battery bank.
Mount the controller on a flat and stable surface.
Ensure that the controller is securely mounted to prevent it from falling or vibrating excessively.
Provide adequate airflow around the controller to prevent overheating.
Install a display or monitoring device to monitor the system performance.
Regularly check battery voltage, charging status, and system alerts to ensure optimal operation.
Keep a record of system readings for future troubleshooting and maintenance.
Wear appropriate personal protective equipment (PPE), including gloves and safety glasses, when working with electrical components.
Disconnect the system from all power sources before performing any maintenance or repairs.
Be aware of the potential for electrical shock and take necessary precautions.
Ensure that all wiring is insulated and properly terminated to prevent short circuits or electrical fires.
By following these detailed DIY installation tips, you can safely and effectively install a small MPPT charge controller for your photovoltaic system. Remember to consult the manufacturer’s instructions for specific product specifications and recommendations. Enjoy the benefits of optimizing your PV system’s performance while saving money and gaining valuable hands-on experience.
COMPANY
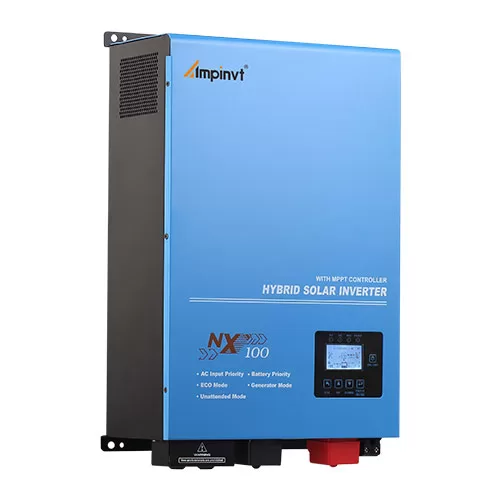
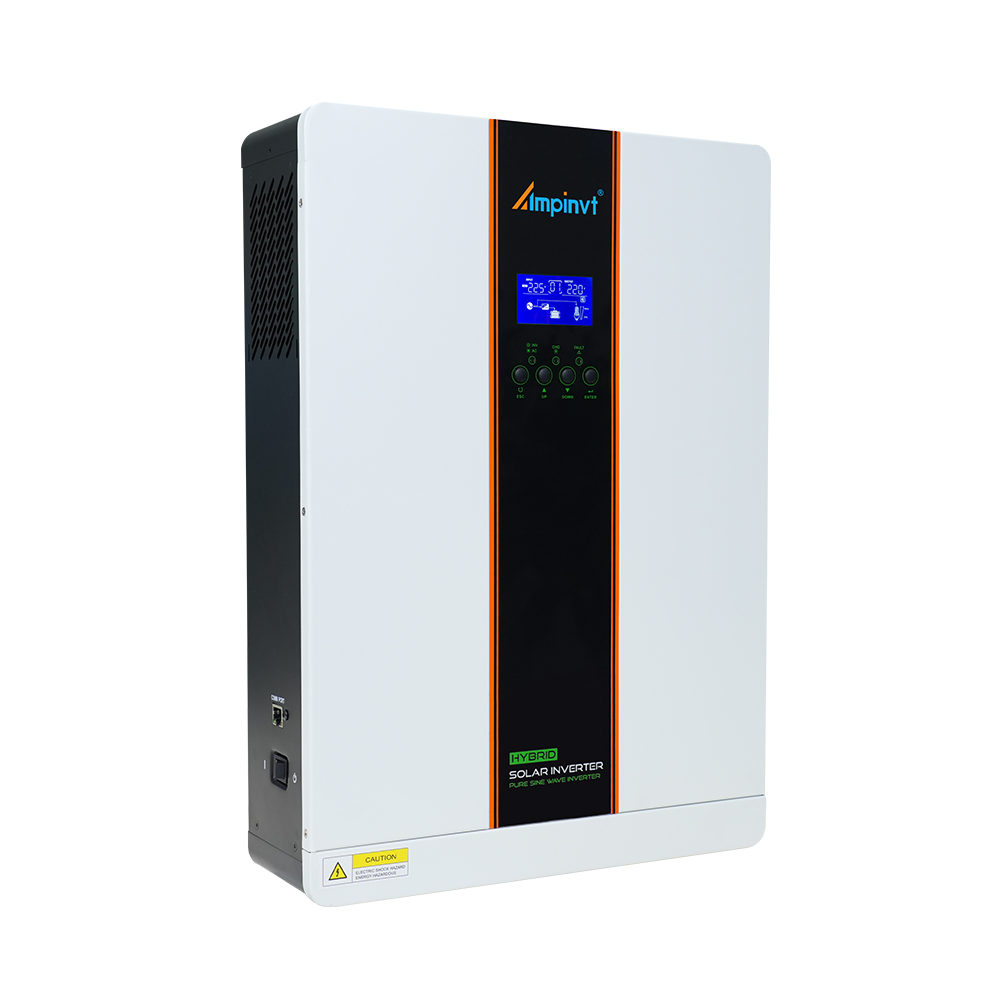
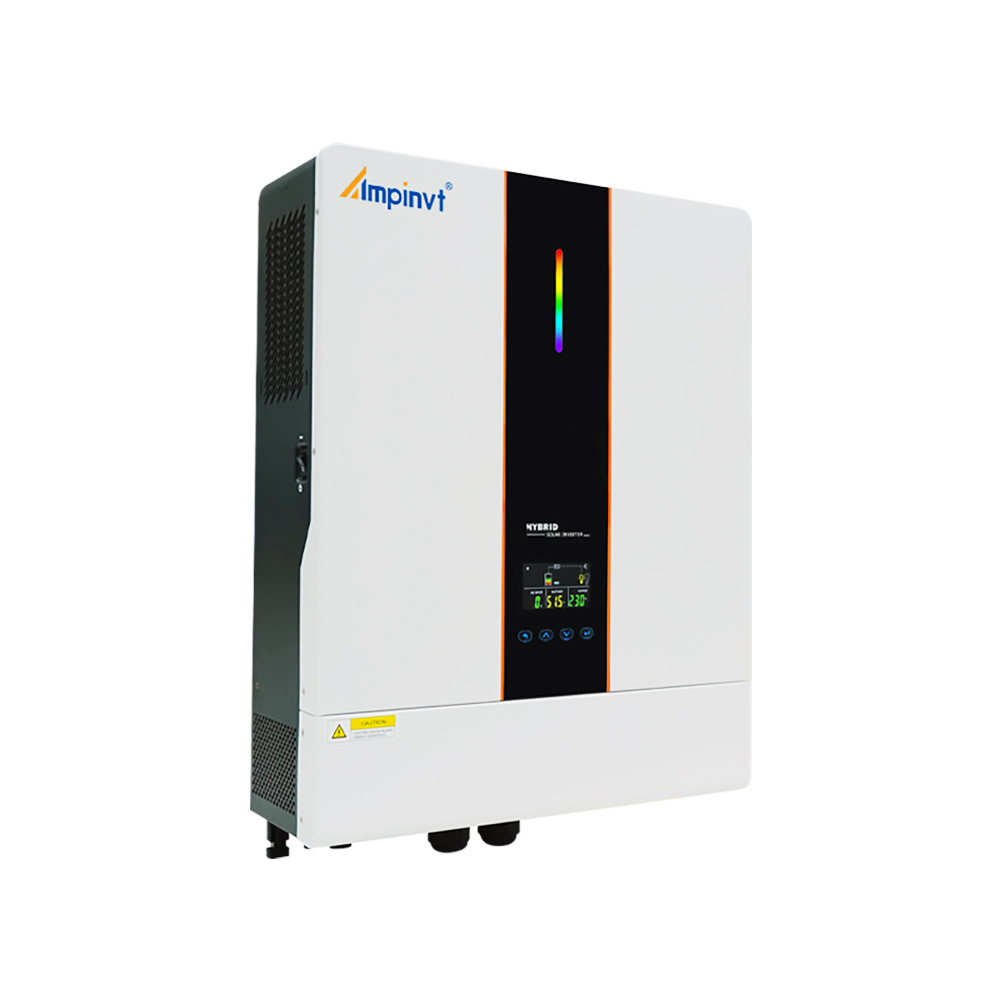
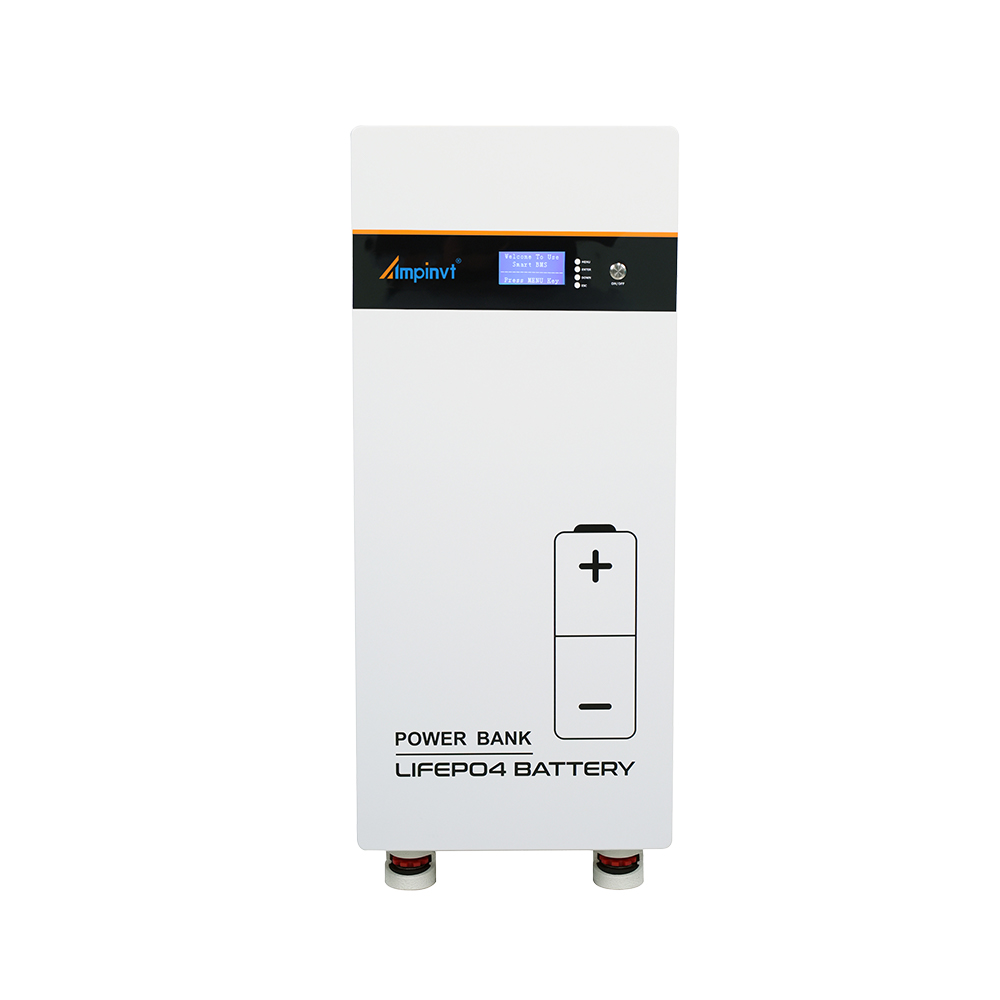
PRODUCTS