Welcome to Ampinvt !
How to Install and Configure Your Ampinvt Charge Controller: A Comprehensive Guide
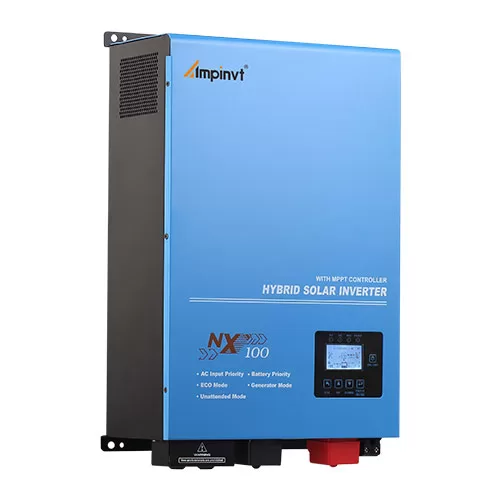
Ampinvt charge controllers are essential components in solar power systems, ensuring optimal battery performance and maximizing system efficiency. This comprehensive guide will provide step-by-step instructions on how to install and configure your Ampinvt charge controller, empowering you to harness the full potential of your solar setup.
1. Safety Precautions
Before commencing installation, observe the following safety measures:
– Disconnect all power sources, including AC and DC connections, to prevent electrical shock.
– Wear protective gear such as gloves and safety glasses for handling electrical components.
– Ensure the installation site is well-ventilated and free from flammable materials.
– Carefully follow the instructions provided by Ampinvt and adhere to all safety guidelines.
2. Mounting the Charge Controller
– Choose a mounting location that is dry, protected from direct sunlight, and well-ventilated.
– Ensure the surface is level and sturdy to support the weight of the charge controller.
– Securely attach the charge controller using the supplied mounting brackets or screws.
3. Electrical Connections
Battery Connection:
– Connect the positive (+) battery terminal to the “Battery +” terminal on the charge controller.
– Connect the negative (-) battery terminal to the “Battery -” terminal on the charge controller.
Solar Panel Connection:
– Connect the positive (+) solar panel lead to the “Solar +” terminal on the charge controller.
– Connect the negative (-) solar panel lead to the “Solar -” terminal on the charge controller.
Load Connection:
– Connect the positive (+) load lead to the “Load +” terminal on the charge controller.
– Connect the negative (-) load lead to the “Load -” terminal on the charge controller.
4. Configuration of Ampinvt Charge Controller
– Access the charge controller’s configuration settings through the digital display or via a smartphone app if available.
– Set the battery type and voltage according to your battery specifications.
– Adjust the charge parameters such as charge voltage, absorption voltage, and float voltage.
– Configure the load parameters such as load disconnect voltage and load reconnect voltage.
– Save the settings and ensure the charge controller is operating correctly.
5. Monitoring and Troubleshooting
– Regularly monitor the charge controller’s display to track system performance.
– Use the diagnostic features available on some models to identify and resolve any issues.
– Contact Ampinvt technical support if you encounter any persistent problems.
Conclusion
By following these detailed instructions, you can successfully install and configure your Ampinvt charge controller. A properly installed and configured charge controller will optimize battery charging, enhance system efficiency, and extend the lifespan of your solar power system. Remember to prioritize safety and consult professional assistance if necessary to ensure a successful and reliable solar installation.
COMPANY
PRODUCTS