Welcome to Ampinvt !
Comprehensive Guide to Lithium-Ion MPPT Charge Controller Installation
The comprehensive “Installation Guide for Lithium-Ion MPPT Charge Controllers” serves as an invaluable resource for professionals and homeowners alike, providing step-by-step instructions and best practices for installing, wiring, and configuring lithium-ion MPPT charge controllers. This guide equips readers with the knowledge and confidence to optimize their solar energy systems for maximum efficiency and performance.
System Overview
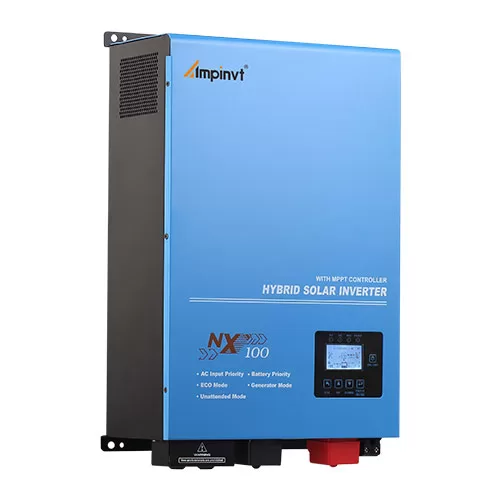
Lithium-ion MPPT charge controllers are designed to regulate and optimize energy flow from solar panels to lithium-ion battery banks. They employ advanced Maximum Power Point Tracking (MPPT) algorithms to extract the maximum power from solar panels under varying environmental conditions. By efficiently managing charging parameters, they protect lithium-ion batteries from overcharging, undercharging, and temperature fluctuations, ensuring their longevity and performance.
Before beginning installation, it is crucial to consider several factors, including:
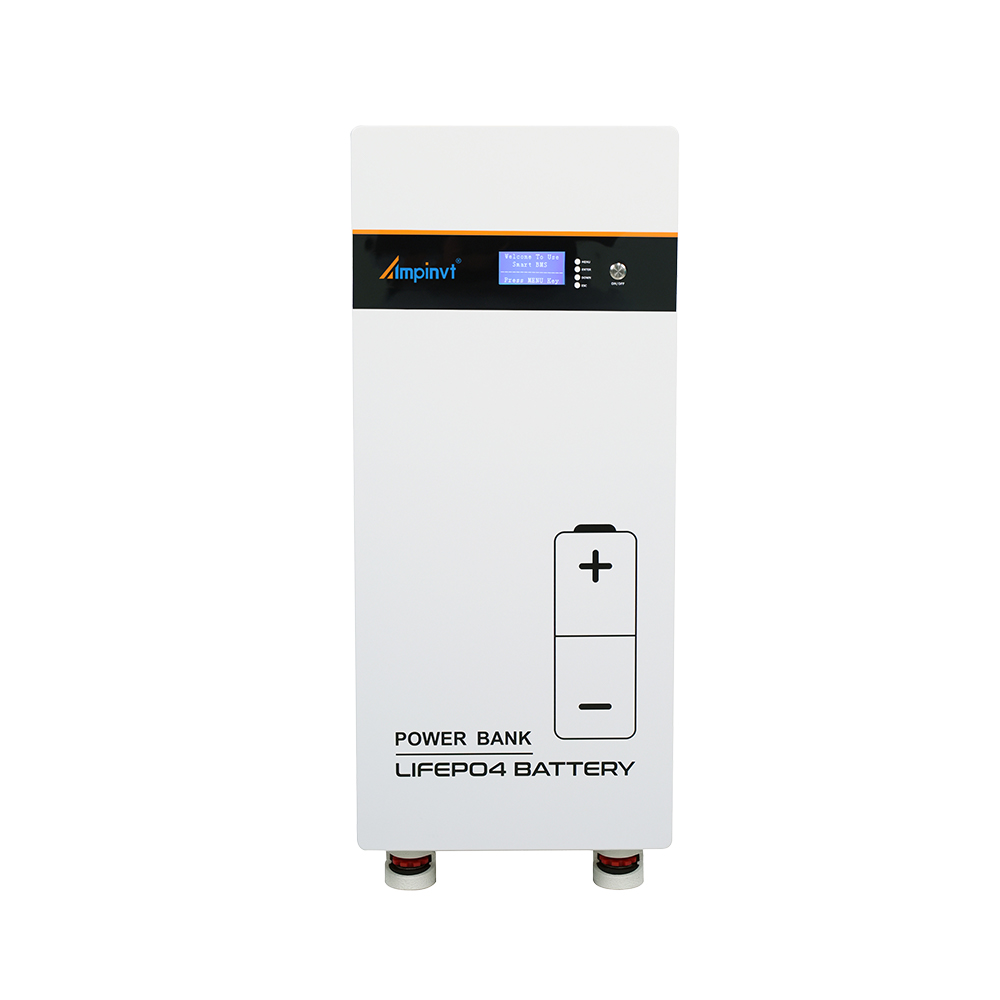
– Battery Bank Size: Calculate the appropriate size of the battery bank based on daily energy consumption and system backup requirements.
– MPPT Controller Rating: Select a controller that is rated to handle the power output of the solar panels and the capacity of the battery bank.
– Cable Selection: Use high-quality cables with the correct gauge and insulation to minimize voltage drop and ensure safe operation.
Wiring and Connections
1. Solar Panel Connection:
– Connect positive and negative terminals of the solar panels to the corresponding terminals on the MPPT controller.
– Use MC4 connectors or other specialized connectors for secure and weather-resistant connections.
2. Battery Bank Connection:
– Connect positive and negative terminals of the battery bank to the corresponding terminals on the controller.
– Ensure proper polarity and tighten all connections securely.
3. Load Connection:
– Connect loads (e.g., appliances, LED lights) to the load terminals on the controller.
– Use a fuse or circuit breaker to protect the loads from overcurrent.
Once the controller is wired, it needs to be configured according to the specific system parameters and battery type. Refer to the manufacturer’s instructions for detailed configuration steps, which typically involve:
– Battery Type Selection: Choose the correct battery type (e.g., lithium iron phosphate, nickel manganese cobalt) from the controller’s menu.
– Charging Voltage Settings: Set the bulk, absorption, and float charging voltages based on the battery manufacturer’s recommendations.
– Temperature Compensation: Adjust the temperature compensation parameters to optimize charging based on ambient temperature variations.
Safety is paramount when installing and using MPPT charge controllers. Adhere to the following safety precautions:
– Always wear appropriate safety gear.
– Isolate the system from power sources before making any connections.
– Use proper grounding and bonding techniques to prevent electrical shock and hazards.
– Protect the controller from exposure to moisture, dust, and extreme temperatures.
– Monitor the system regularly for any potential issues or hazards.
By following the comprehensive “Installation Guide for Lithium-Ion MPPT Charge Controllers,” readers can ensure a safe, efficient, and reliable solar energy system that meets their specific needs and requirements.
COMPANY
PRODUCTS