Welcome to Ampinvt !
This comprehensive guide will provide you with the essential knowledge and step-by-step instructions for the safe and efficient installation of small MPPT solar charge controllers. Whether you’re a seasoned electrician or a DIY enthusiast, this guide will empower you to optimize your solar photovoltaic (PV) system for maximum energy production.
Prior to installation, it’s imperative to prioritize safety. Disconnect the system from all power sources, both AC and DC, and wear appropriate personal protective equipment (PPE) such as gloves and safety glasses. Handle electrical components with care, ensuring proper grounding and insulation to prevent electrical shock.
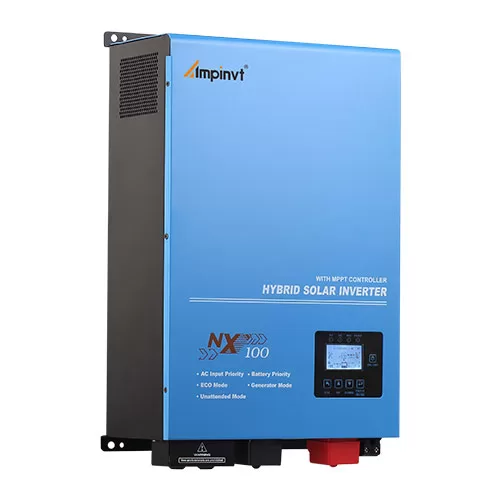
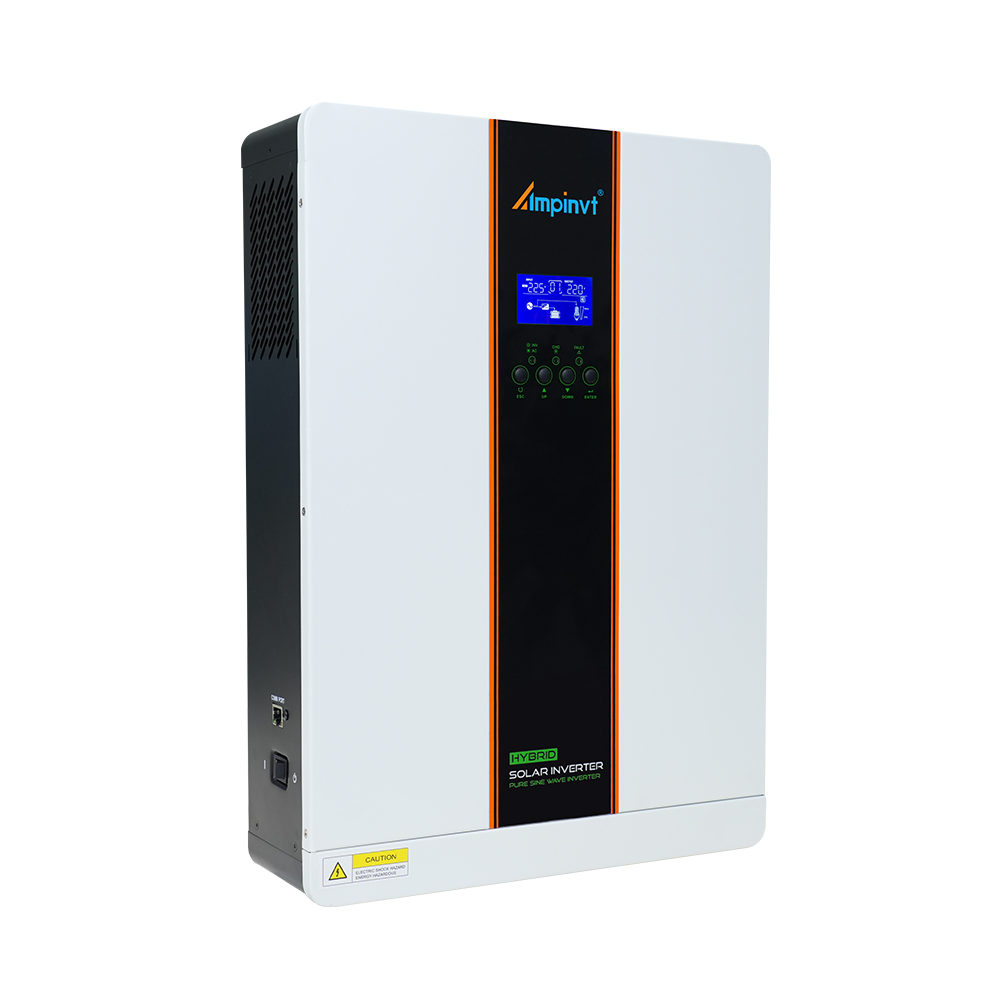
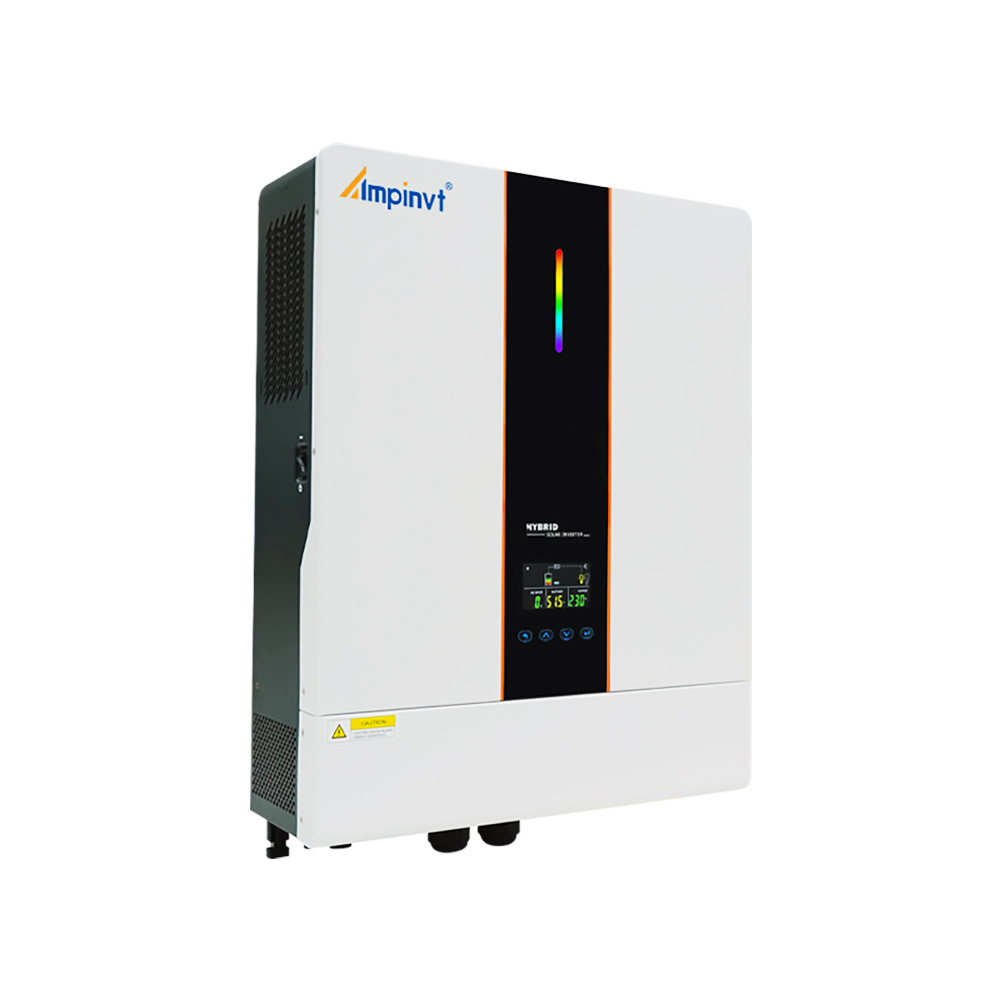
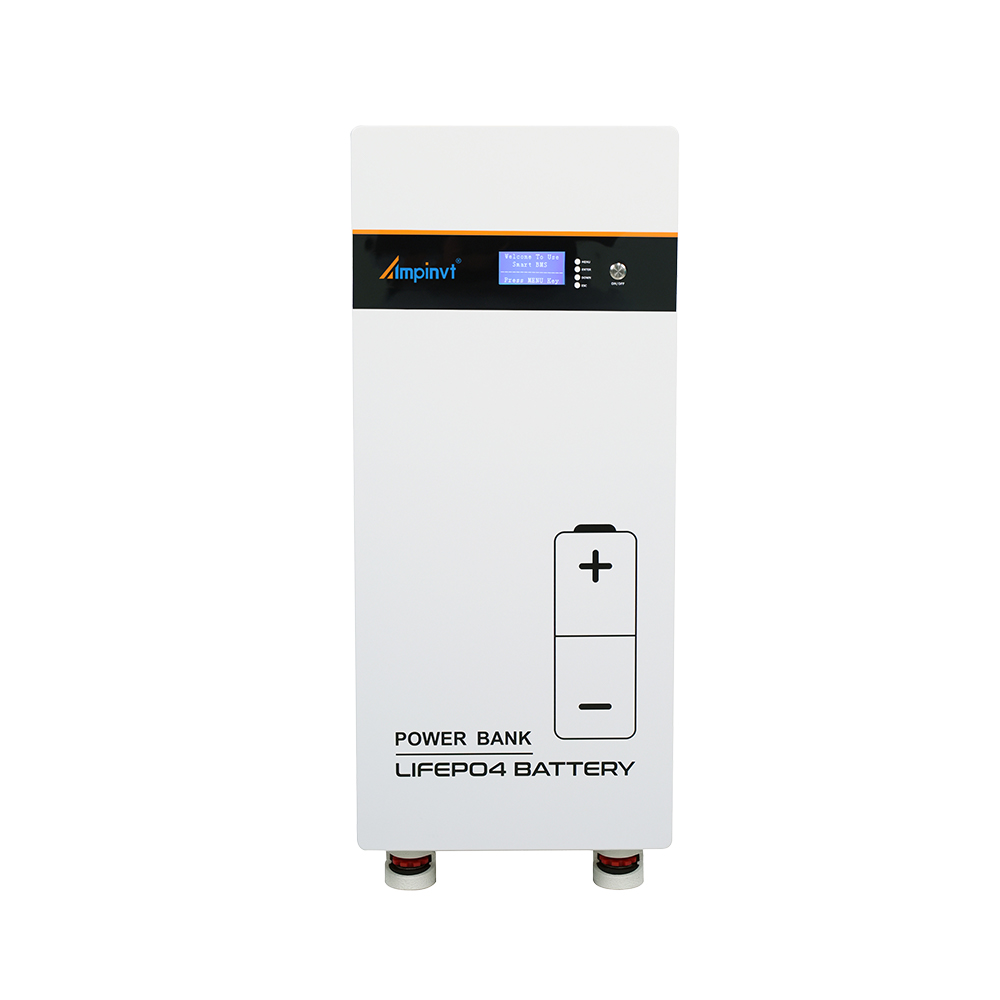
Gather the necessary components before commencing installation: the MPPT solar charge controller, solar panels, batteries, and appropriate wiring and connectors. Ensure that the MPPT charge controller is compatible with your system’s voltage and amperage ratings. Additionally, prepare the required tools and materials, such as a multimeter, crimping tool, and cable ties.
Choose a suitable location for the MPPT charge controller, ensuring it is well-ventilated and protected from moisture and extreme temperatures. Consider accessibility for maintenance and monitoring purposes. The ideal location is in close proximity to both the solar panels and the batteries.
Connect the solar panels to the MPPT charge controller using the appropriate wire gauge and connectors. Positive terminals should be connected to positive terminals, and negative terminals to negative terminals. Ensure that all connections are properly crimped and insulated to prevent short circuits.
Next, connect the batteries to the MPPT charge controller. Follow the manufacturer’s instructions carefully to determine the correct connection sequence and polarity. Tighten the terminals securely to ensure a good electrical connection.
Proper grounding is essential for safety and performance. Connect a ground wire from the grounding terminal on the MPPT charge controller to an earth ground. This will provide a path for electrical faults and reduce the risk of electrical shock.
Once the installation is complete, connect a monitoring device, such as a display unit or smartphone application, to the MPPT charge controller. This will allow you to monitor system performance, including solar input, battery voltage, and charging status.
Power up the system and verify that it is functioning as intended. Check all electrical connections, monitor system performance, and address any issues that may arise. If you encounter any problems, refer to the manufacturer’s troubleshooting guide or consult a qualified electrician.
By following the comprehensive instructions outlined in this guide, you can confidently install a small MPPT solar charge controller, ensuring the optimal performance and longevity of your solar PV system. Remember to prioritize safety, choose appropriate components, and carefully follow the steps to achieve a safe and efficient installation.
COMPANY
PRODUCTS