Welcome to Ampinvt !
In today’s world of renewable energy, charge controllers play a crucial role in regulating the flow of electricity from solar panels to batteries. Among the reputable manufacturers of charge controllers, Ampinvt stands out with its wide range of advanced and user-friendly products. This guide will provide a step-by-step walkthrough of setting up an Ampinvt charge controller, ensuring optimal performance and maximizing the efficiency of your solar system.
Before embarking on the installation process, it is imperative to prioritize safety. Disconnect all electrical connections, including the solar array and batteries, to prevent any electrical hazards. Ensure proper grounding to provide a safe path for any stray currents that may arise.
Connect the positive terminals of the solar panels to the solar input terminals of the charge controller. Similarly, connect the positive terminal of the battery to the battery positive terminal on the charge controller. Repeat the same process for the negative terminals, ensuring proper polarity to avoid any potential damage to the equipment.
Using the user interface or a programming tool, configure the charge controller’s parameters. This includes setting the battery type, voltage, and charging algorithm. Choose the appropriate battery type from the options provided, specify the voltage of your battery bank, and select a suitable charging algorithm that aligns with your battery chemistry.
Different battery technologies require specific charging algorithms to optimize their performance. Ampinvt charge controllers offer various algorithms, including PWM, MPPT, and adaptive MPPT. PWM is a simple and cost-effective option, while MPPT algorithms maximize the power output from solar panels by adjusting the input voltage to match the battery voltage. Adaptive MPPT further enhances efficiency by dynamically adjusting the algorithm based on real-time operating conditions.
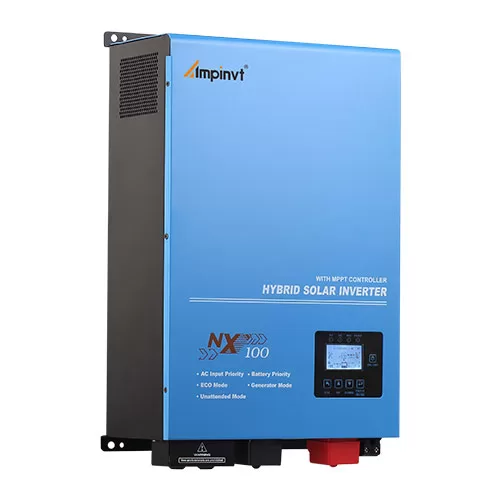
Ampinvt charge controllers feature LCD displays that provide real-time information about the system’s performance. You can monitor crucial parameters such as solar input power, battery voltage, charging current, and battery capacity. This information is invaluable for troubleshooting, optimizing system performance, and ensuring the health of your solar system.
Some Ampinvt charge controllers incorporate load management capabilities. This allows you to connect essential loads directly to the charge controller, ensuring that they are powered by the solar system even when the batteries are depleted. Load management features can also prevent overloads and protect connected devices from potential damage.
Ampinvt charge controllers are equipped with various safety features to protect against potential hazards. These include reverse polarity protection, overvoltage protection, overcurrent protection, and overtemperature protection. These features ensure the safety of your equipment, increase the longevity of your solar system, and provide peace of mind during operation.
Setting up an Ampinvt charge controller is a straightforward and essential step in maximizing the efficiency and safety of your solar system. By following these comprehensive steps, you can ensure that your charge controller isconfigured correctly, providing optimal charging for your batteries and reliable power for all your connected devices. Whether you are a seasoned solar enthusiast or a novice venturing into the world of renewable energy, this guide provides you with the necessary knowledge and confidence to set up your Ampinvt charge controller successfully.
COMPANY
PRODUCTS