Welcome to Ampinvt !
Step-by-Step Installation Guide for Solar Charge Controllers: A Comprehensive Guide to Power Your System
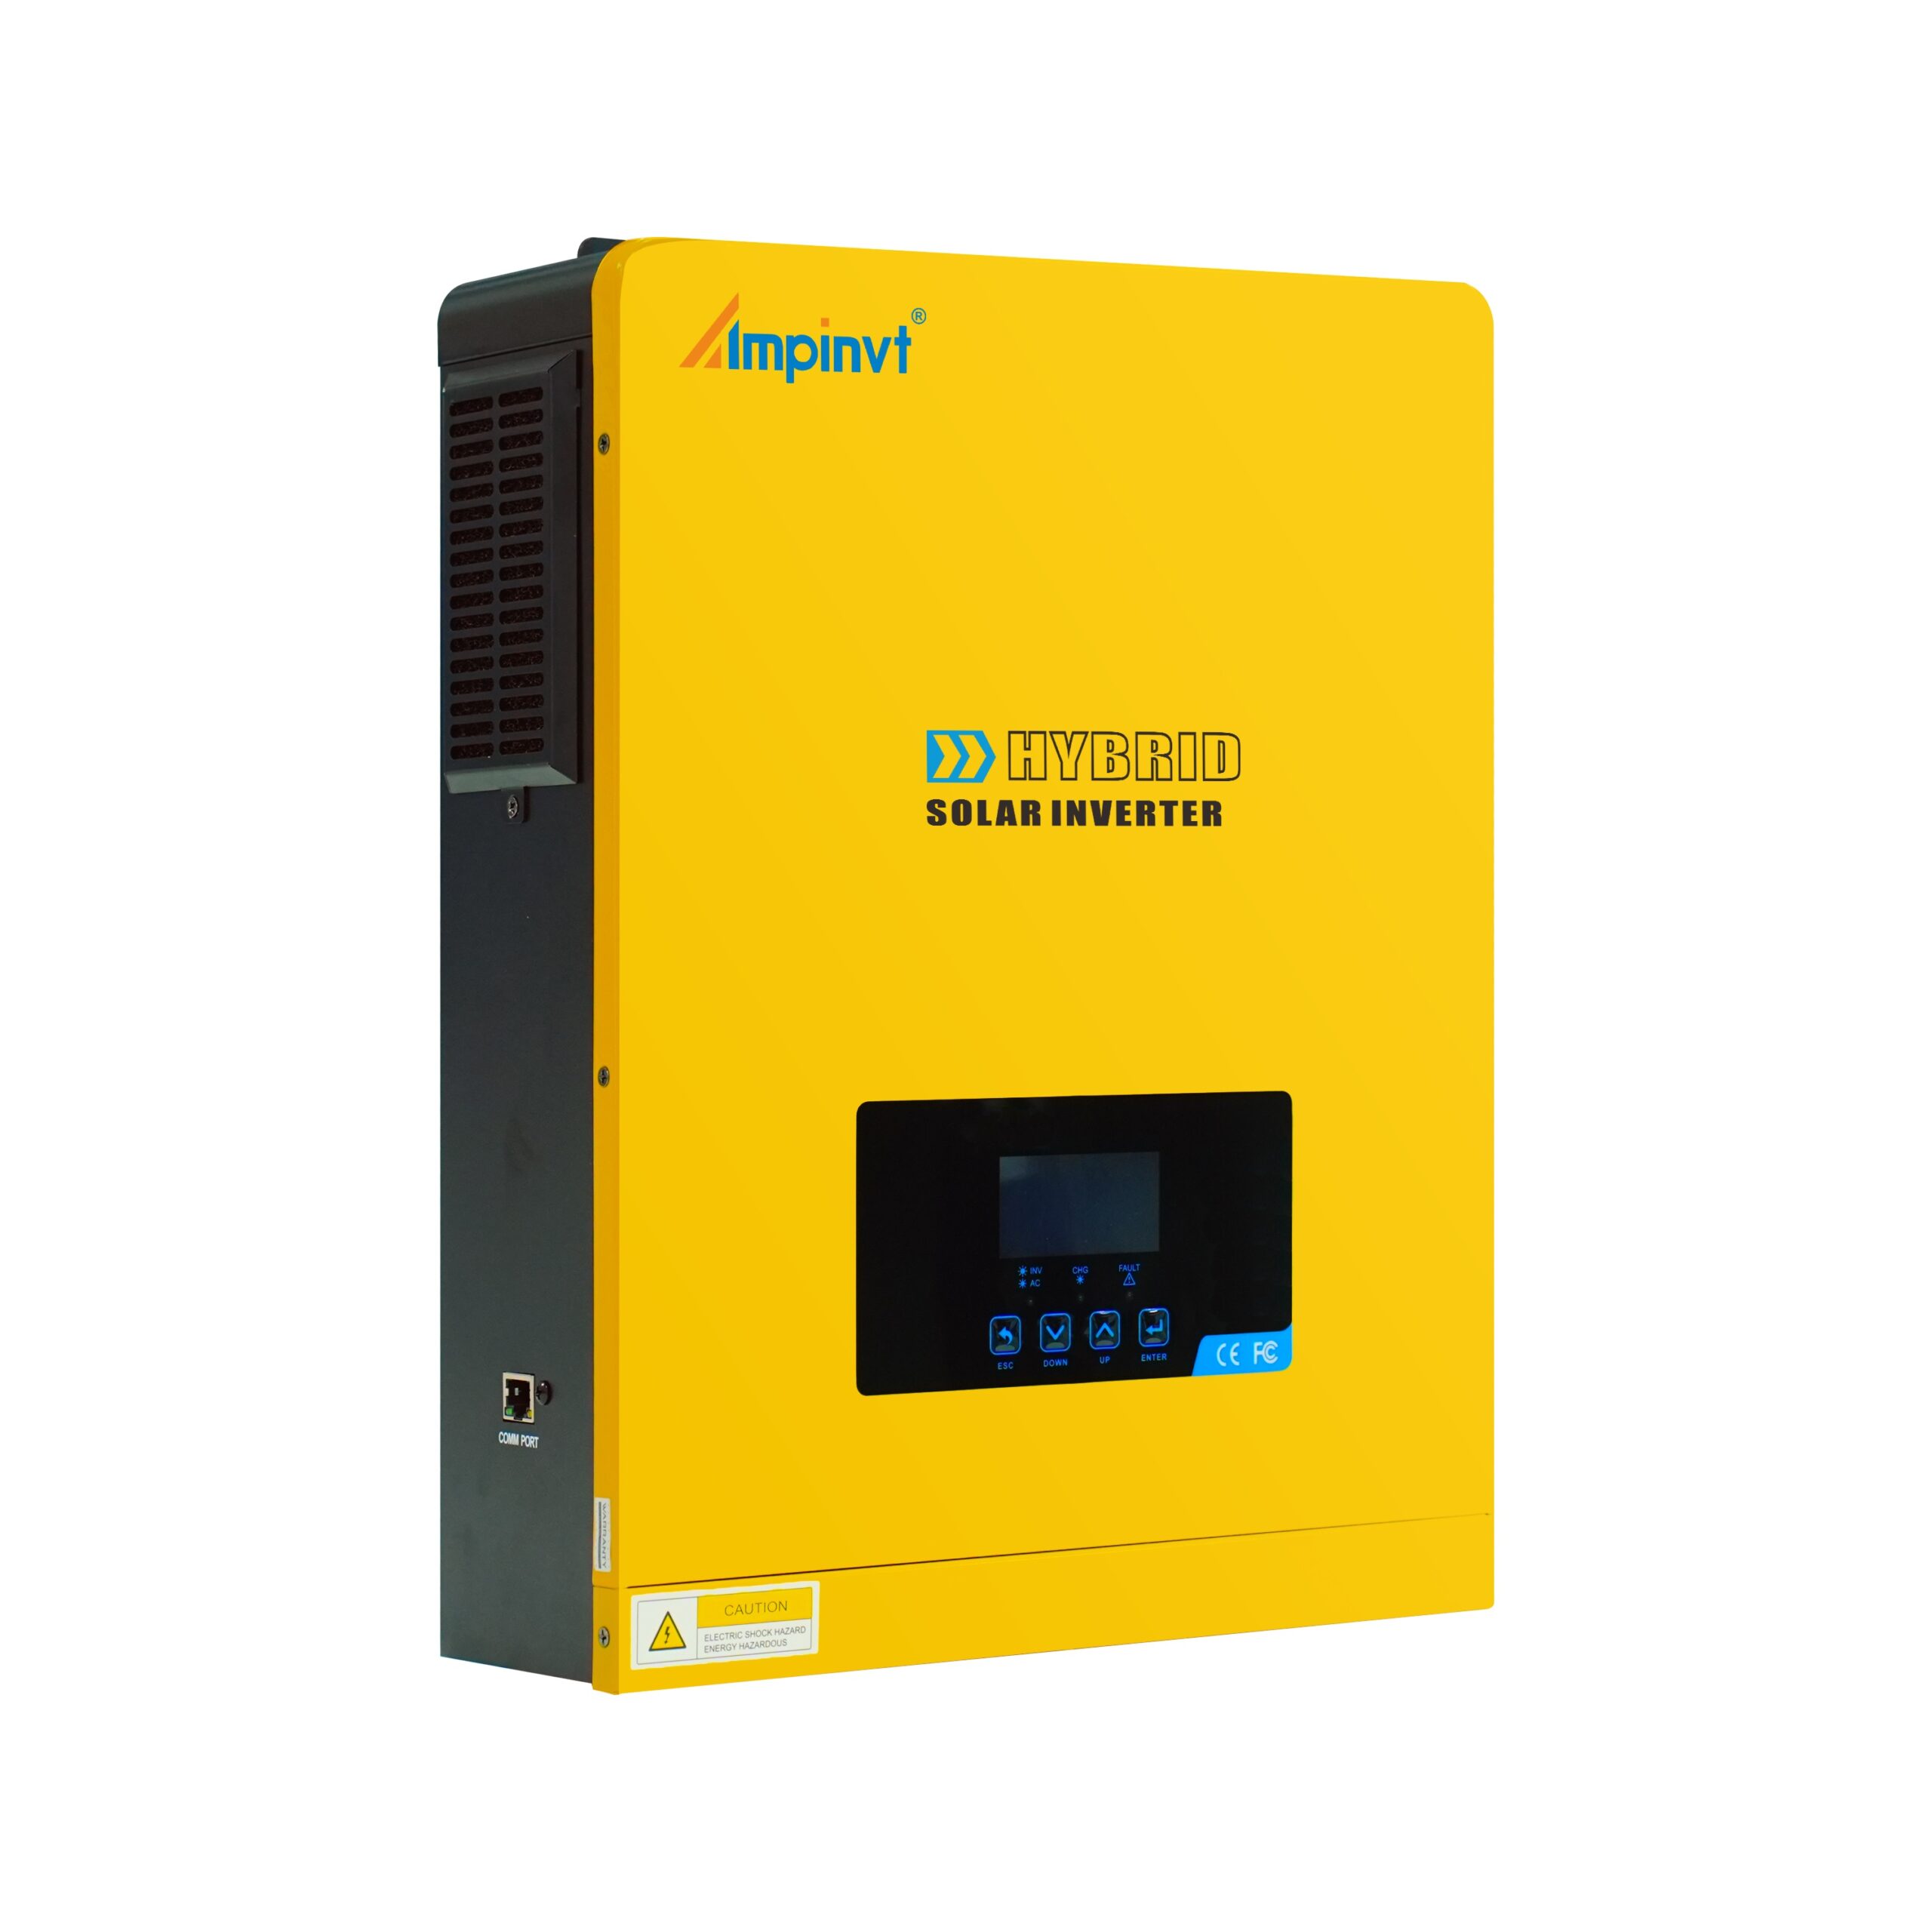
Solar charge controllers play a crucial role in solar power systems, regulating the charging process to protect batteries and ensure optimal performance. To ensure a smooth and efficient installation, a detailed step-by-step guide is essential. This article provides a comprehensive walkthrough of this guide, empowering you with the knowledge and confidence to set up your solar charge controller seamlessly.
Before embarking on the installation, meticulous preparation is paramount. Gather the necessary tools, including wire strippers, a multimeter, and a torque wrench. Safety should always be prioritized. Wear appropriate safety gear and follow all electrical safety guidelines.
The core of the installation process is connecting the solar panels and batteries. Begin by connecting the positive terminal of the solar panel to the positive terminal of the charge controller using a positive current-carrying wire. Then, connect the negative terminal of the solar panel to the negative terminal of the charge controller using a negative current-carrying wire. Use a torque wrench to secure the connections. Next, connect the positive terminal of the battery to the positive battery terminal of the charge controller using a positive current-carrying wire. Finally, connect the negative terminal of the battery to the negative battery terminal of the charge controller using a negative current-carrying wire. Ensure all connections are tight and secure.
The load refers to the appliances or devices being powered by the solar system. To connect the load, identify the positive and negative terminals on the charge controller. Connect the positive terminal of the load to the positive load terminal of the charge controller using a positive current-carrying wire. Then, connect the negative terminal of the load to the negative load terminal of the charge controller using a negative current-carrying wire.
Most solar charge controllers come with a display that provides valuable information such as battery voltage, charging current, and solar panel output. To monitor and control the system, connect a data cable from the charge controller to the display unit. The display will typically have buttons or a menu for configuring the charge controller’s settings, such as battery type, charging parameters, and load control options.
Once the installation is complete, it is crucial to test the system and rectify any potential issues. If the system is not functioning correctly, refer to the troubleshooting section of the installation guide. Common problems include loose connections, incorrect wire sizing, and component malfunctions. Regular maintenance is also essential to ensure the longevity of the system. Periodically check all connections, clean the solar panels, and monitor the battery’s health.
By following these comprehensive steps, you can confidently install your solar charge controller and harness the power of the sun to meet your energy needs. Remember to prioritize safety, pay attention to detail, and refer to the installation guide for specific instructions tailored to your system.
COMPANY
PRODUCTS